“`html
Why Finish Drips Happen in the First Place
Wood finish drips and runs—how to apply it smooth—this is the question I get asked constantly in my workshop. Honestly, I used to think it was just bad luck or lack of skill. Then I realized every drip has a reason, and knowing those reasons before you open a can? That changes everything.
Gravity wins. Always. But finish runs because you’ve applied too much material to the surface in one pass. Viscosity—how thick or thin your finish is—determines how much the material wants to flow downward instead of staying put. Temperature and humidity affect this constantly. A finish that behaves perfectly on a 68-degree Tuesday will behave completely differently on a humid Wednesday morning. Moisture affects how solvents evaporate and how the finish cures.
Brush technique matters more than most people admit. Dragging a brush too slowly across the wood keeps the bristles in contact with the surface longer, depositing more material in one spot. On vertical surfaces, this pooling is deadly. Roller nap length—the thickness of the fibers—determines how much finish the roller holds. A half-inch nap soaked in polyurethane can hold an enormous amount of material. Too much, usually. Sprayer pressure and fan width control atomization. Get the pressure wrong and you’re spraying globs instead of mist.
The root cause you’ll see most often? You’re applying too much finish per coat while moving too slowly across the wood. Probably should have opened with this section, honestly.
Preventing Runs Before You Apply
The work starts before you open the finish can. Temperature and humidity are non-negotiable. Most finishes—polyurethane, lacquer, water-based poly—have a window: 50–85 degrees Fahrenheit, 30–50% relative humidity. Check this. Get a basic hygrometer for $12 from any hardware store. I’ve watched experienced finishers ruin work because they ignored humidity while finishing in a garage during late afternoon when moisture was climbing.
Viscosity testing is simple and saves gallons of mistakes. Dip a stick in your finish and lift it. It should flow off the stick smoothly in about 1–2 seconds. If it drops like syrup, thin it. If it falls like water, you’ve thinned too much. The standard ratio for thinning:
- Polyurethane: 10–15% mineral spirits by volume. No more. It doesn’t need much.
- Lacquer: 20–25% lacquer thinner. Lacquer evaporates fast, so it can handle more thinner without running.
- Shellac: 1–2 lb cut is standard. If you’re buying pre-mixed, it’s usually there already. If you’re mixing from flakes, aim for that density.
- Water-based poly: 5–10% distilled water only. Never tap water — tap water has minerals that mess with curing.
Don’t thin just because you think you should. Many finishes work best un-thinned or barely thinned. Thin only when you’re fighting excessive dragging or when application method demands it. Sprayers need thinner material than brushes do.
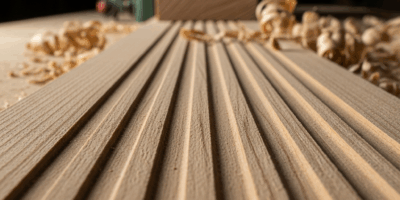
Surface preparation prevents more drips than any other single step. Dust, oils, wax — anything on the wood will make finish ball up and run in unpredictable patterns. Sand with 150–220 grit before the final coat. Tack cloth between every coat. A tack cloth costs $2 and catches particles that ruin finishes.
Temperature of the finish matters too. Cold finish is thick. Warm finish is thin. Store finish at 70 degrees and let it reach room temperature before opening the can. A can of poly pulled from a cold garage will behave completely differently than one sitting in your workshop for an hour.
Application Techniques That Stop Drips Mid-Stroke
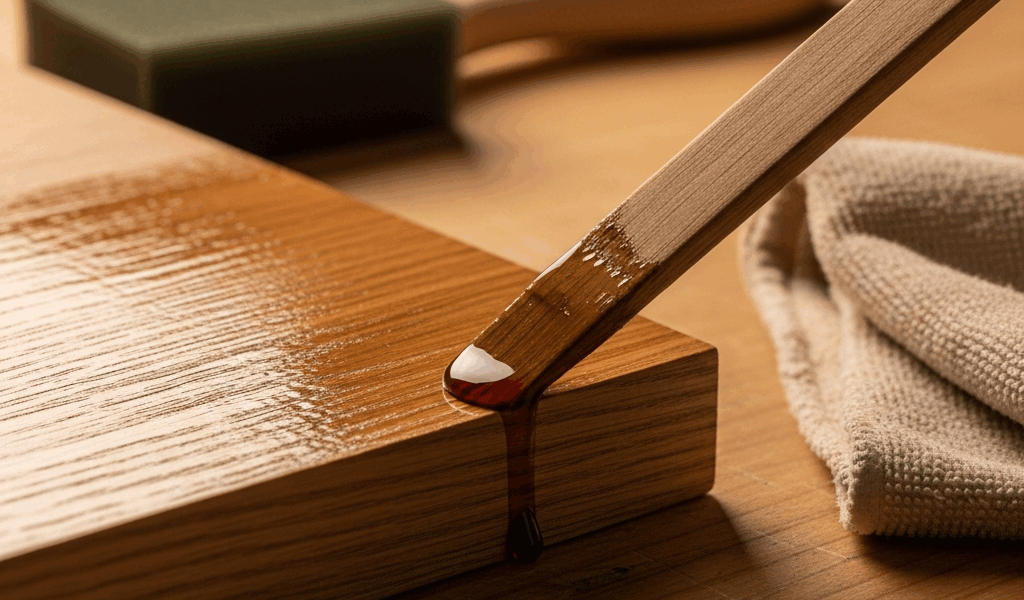
Brush technique requires discipline because the slow, careful approach every beginner assumes is actually the worst thing you can do. Dragging a brush slowly across the wood deposits too much material and keeps bristles in the wet finish longer, allowing gravity to win. Move decisively instead. Not frantically—decisively. Apply the finish with moderate pressure, keeping the brush moving. For horizontal surfaces like tabletops and shelves, use long, even strokes that overlap slightly. For vertical surfaces, this changes everything.
On vertical wood, always brush from the bottom upward. Gravity pulls finish downward, so starting at the bottom means any excess flows toward wet material below that can be re-brushed. Brush width matters: use a 2-inch brush for general work, not a 4-inch mop. Control is impossible with oversized brushes. Apply one thin coat instead of one thick coat. Two thin coats beat one heavy coat every single time.
Rollers work well for large flat surfaces — cabinet sides, panel doors — but nap length is critical. Use a quarter-inch nap for poly and water-based finishes. Half-inch is too much. Load the roller by rolling it slowly across your finish pan, getting even saturation. Then roll onto the wood with light pressure using long, overlapping passes. Don’t go back and forth like you’re painting drywall. Roll in one direction, lift off, reset, roll the next strip. Back-and-forth creates foam and traps air.
Sprayers offer the most control if you’re comfortable with them. Fan width at 6 inches, gun distance 8–10 inches from the surface, low to medium pressure. Multiple light passes beat one heavy pass. Yes, sprayers seem faster, but speed during application is exactly what kills you. A coat that takes 3 minutes instead of 5 minutes usually has runs because atomization was rough or overlap was minimal.
Timing between coats depends on finish type and conditions. Lacquer dries fast—often 30 minutes between coats. Polyurethane needs 2–4 hours. Water-based poly needs 4–6 hours, sometimes longer in humidity. Don’t guess. The finish label tells you. Follow it. Rushing between coats before the previous coat has firmed up causes all kinds of chaos: lifting, wrinkling, runs that anchor themselves in uncured material below.
Quick Fixes if You Spot a Run in Progress
The 5–10 minute window is where recovery happens. You’ve applied finish, it’s starting to set, but it’s still wet enough to move. This is the moment.
Feathering works during this window. If you spot a run or puddle, use a nearly dry brush — just damp, not loaded with fresh finish — and lightly drag it into and across the run, spreading that material thin into the surrounding finish. Don’t brush back and forth. Drag once, pull away. The finish has some grip now, so aggressive brushing will only make it worse. This technique works best on shellac and lacquer because they set faster and you catch runs sooner.
Wiping is gentler and works well on water-based finishes. Spot the run, fold a lint-free cloth into a point, and use the point to lightly soak up the excess material. Once you’ve removed most of the pooled finish, use a dry cloth to blend the edge. You’re not trying to polish it. You’re just removing the excess before it hardens into a visible drip.
Polyurethane is unforgiving. The window closes faster than you’d expect—usually 8–12 minutes depending on temperature and humidity. If you miss this window, the finish hardens and feathering makes it worse. You’ll disturb the surface tension and create a rough patch that’s harder to fix than the run you were trying to save.
Risk: attempting fixes after the window closes. You’ll disturb the partially cured finish and create texture problems that require sanding back and recoating anyway. Know when to walk away.
Salvaging a Finish That’s Already Run
Sometimes you don’t see the run until it’s hardened. Sometimes you ignored the obvious drip thinking it would level out. It didn’t. Now what?
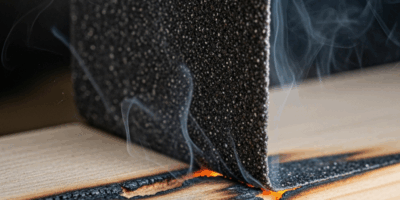
If the run is shallow and the surrounding finish is cured solid, light sanding might work. Wait for full cure—24–48 hours depending on finish type. Sand with 220-grit paper, feathering the edges of the run into the surrounding finish. Then spot-coat with thin finish, feathering the edges again. This works maybe 60% of the time. The other 40%, you’ll see the repair because blending is incredibly difficult.
If the run is deep or you’ve got multiple runs, stripping back and recoating is faster than trying miracles. Sanding with 120–150 grit removes the problematic coat, and you start fresh. Yes, it’s frustrating. Yes, you could have prevented it. Learn from it.
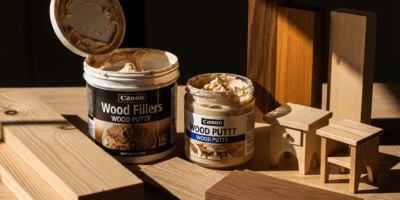
Blending a minor run sometimes works on stain finishes if you have leftover finish and can apply a thin, feathered coat over the area. On clear finishes, blending is nearly impossible because viewers will always see the patch. Accept this limitation and plan for better technique on the next piece.
The goal isn’t fixing drips after the fact. The goal is applying finish smooth from the start using proper viscosity, temperature control, and disciplined brush or spray technique. Prevent the problem. When prevention fails, catch it in that narrow window while the finish is still moveable. Once it hardens, you’re sanding, and sanding is where you learn the hardest lesson: preventing one drip is worth an hour of fix-it work.
“`

Stay in the loop
Get the latest master wood crafters updates delivered to your inbox.