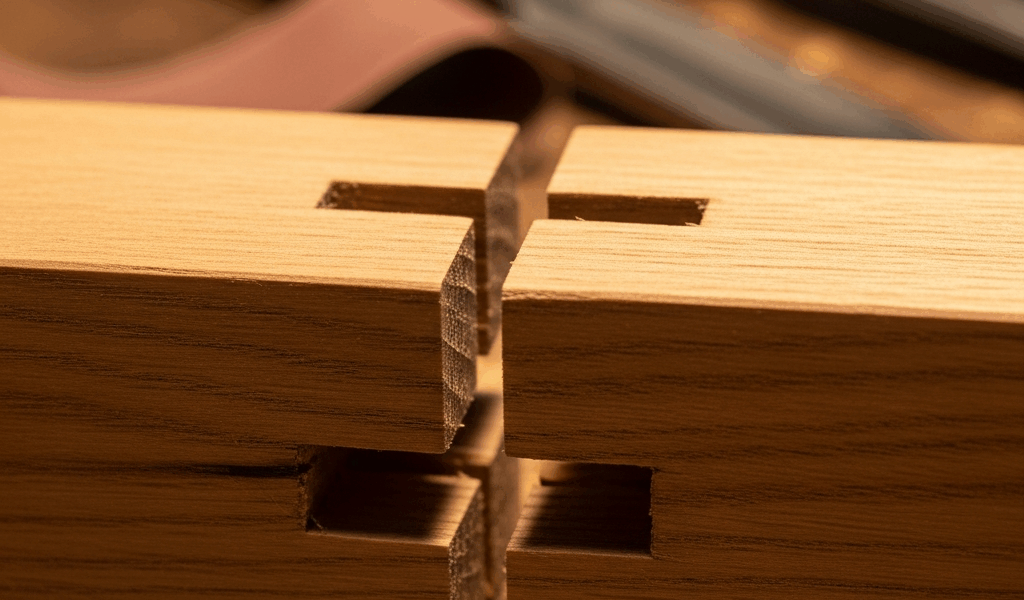
Why Mortise and Tenon Joints Go Loose
Mortise and tenon repair has gotten complicated with all the conflicting advice flying around. As someone who has disassembled and rebuilt furniture joints for going on two decades, I learned everything there is to know about why these things fail. Today, I will share it all with you.
A loose joint isn’t a failure — it’s a clue. And once you know what to look for, the fix usually becomes obvious fast.
There are three root causes. First: the tenon was cut undersized from day one. Maybe the layout drifted 1/32 of an inch. Maybe the saw wandered mid-cut. The joint never fit right, and it shows up immediately after assembly — or within the first week, if you’re lucky.
Second is wood movement. A joint can be perfect at glue-up and then rattle loose six months later as seasonal humidity pushes the wood through its expansion and contraction cycle. This usually happens along one axis — typically the length of the tenon.
Third is adhesive failure. Hide glue crystallizes over decades. Modern PVA fails if you clamped too long, or if the wood was pulling moisture when you assembled it. When that glue bond goes, the tenon slides or rattles. Sometimes years after the piece was built.
Knowing which one you’re actually dealing with changes everything about the repair. Probably should have opened with this section, honestly — it would save a lot of wasted effort.
How to Tell Which Problem You Actually Have
Diagnosis first. So, without further ado, let’s dive in.
- When did the gap appear? Within days of assembly points straight to undersizing. Months or years later? That’s wood movement or adhesive failure talking.
- Which direction does it move? Side-to-side rocking means the tenon is undersized or the glue gave out. Lengthwise shift along the mortise is almost always wood movement.
- Can you see into the joint line? Glue squeeze-out visible in the gap means adhesive failure. A clean seam with no residue usually means the wood swelled after the glue cured.
- Does the wood feel raised around the mortise? Run a finger across the joint face. If it feels slightly proud — or the grain texture looks raised — humidity swelling is at work.
- How old is the piece? Antiques with hide glue are prone to adhesive failure. Work done in the last year or two points toward undersizing or a bad fit-up.
Spend thirty seconds running through this list. It’s the difference between a one-hour fix and pulling the whole assembly apart.
Fixing a Tenon That Was Cut Too Small
But what is an undersized tenon, really? In essence, it’s a tenon that never achieved full contact with the mortise walls. But it’s much more than that — it means every stress load the joint was designed to carry got transferred to glue alone, and glue alone always loses eventually.
You’ve got two practical options here.
Option one: shim the tenon. That’s what makes shimming endearing to us woodworkers — it’s a real repair you can do without tearing the whole piece apart. Frame-and-panel work, chair legs, table aprons — anywhere you can access the tenon, this works.
I use 1/16-inch veneer or thin craft plywood cut to fit, glued directly to the tenon face. Tight-grained white oak veneer or hard maple holds up better than soft stuff — pine compresses under clamping pressure and you lose your gains. Cut the shim to match the mortise width, plus about 1/8 inch to allow for squeeze-out at the shoulders.
For shimming, use Titebond III or another water-resistant plastic resin glue. Hide glue rehydrates if the joint ever sees humidity, and you’ll be right back where you started. Clamp the shim using cauls — small scrap blocks on both faces — to spread the pressure evenly. Four hours minimum before you test anything. Once it’s set, slide the tenon into the mortise by hand. Snug, but no force required. That’s the target.
If 1/16 inch doesn’t close the gap, add a second layer. I’ve built tenons up in 1/16 to 3/32 increments depending on how far off the original cut landed. Don’t overshoot and sand back — that defeats the point entirely. Sneak up on the fit.
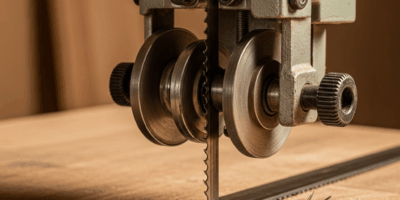
Option two: cut a new tenon. Sometimes shimming isn’t right for the piece. Structural joints, visible frame faces where a shim line would read wrong — those call for a full remake. Saw the old tenon flush, chisel it out, disassemble if the construction allows it. This is the nuclear option. It’s time-intensive. But it gives you a proper joint, and a proper joint will outlast everything else in the piece.
Fixing a Joint That Loosened After Assembly
A joint that was tight at glue-up but loosened months later is almost always responding to wood movement. When a mortise and tenon run perpendicular to each other’s grain orientation, the two members expand and contract at different rates through the seasons. The joint that fit perfectly in January can rattle by August.
The good news: you usually don’t need to disassemble anything.
Tilt the joint to open the gap slightly. Work fresh glue into it using a syringe — something like a Luer-lock tip syringe, which runs about $4 for a pack of five online — or a thin-nozzle squeeze bottle. Let the glue wick into the joint line. Hide glue is the better call here if you can get it. It performs well in wood-to-wood friction joints and it’s reversible later if you need it to be. PVA works, but it’s permanent.
Let it cure 48 hours without clamping. I’m apparently someone who over-clamps by instinct, and heavy clamping on a swollen joint never works for me while light clamping always does. Don’t make my mistake — crushed wood fibers mean a joint that never fully tightens.
If injection doesn’t close the gap and the joint still moves after 72 hours, you’re disassembling. Rubber mallet, scrap block, gradual taps. Work patiently — sudden force splits mortises, and a split mortise is a much bigger problem than a loose tenon. Once apart, scrape the old glue clean. Warm water softens hide glue if that’s what you’re working with. Reassemble with fresh glue. Moderate clamp pressure only — enough to close the joint, not enough to crush it. Leave it overnight minimum.
Preventing It on the Next Project
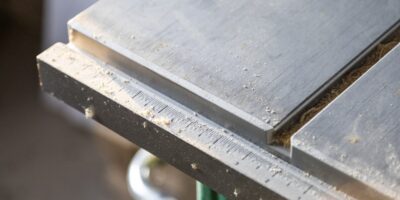
While you won’t need a full machine setup, you will need a handful of good hand tools and some patience at the fitting stage. First, you should cut tenons slightly fat and fit them by hand before any glue is open — at least if you want a joint that holds long-term. A properly fitted mortise and tenon should slide together with moderate hand pressure, then need a single mallet tap for the last 1/8 inch. That’s the feel you’re chasing. It takes time. Worth every minute.
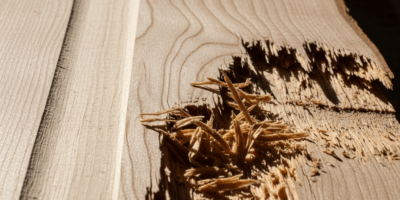
Acclimating lumber might be the best option, as mortise and tenon joinery requires stable wood from the start. That is because a board that’s still releasing moisture will shrink after milling, and a tenon cut from shrinking wood is an undersized tenon waiting to happen. Two weeks indoors minimum — longer for thick stock. A 4/4 walnut board moves dramatically in the first two weeks after coming off a lumberyard stack. Let it settle before layout.
Dry-fit everything before glue-up. Assemble the whole project without glue first. Every undersized tenon and every grain-direction conflict shows up during dry assembly, not during final glue-up when you can’t do anything about it. It adds a day to the timeline. That day is worth it.
Mortise and tenon joints are forgiving. A loose joint isn’t the end — the fix usually takes less time than the original cut did. Diagnose first, repair second, and that joint will hold for another hundred years without complaint.

Stay in the loop
Get the latest master wood crafters updates delivered to your inbox.