I ruined three oak tabletops before I understood open grain. Seriously—three perfectly good slabs that ended up with finishes so bumpy and uneven I couldn’t sell them. I was sanding them to 220 grit, applying polyurethane, and wondering why oak looked nothing like the smooth cherry pieces I’d been making.
Turns out I was treating oak like cherry. That doesn’t work. Different woods, different approaches.
The Grain Situation
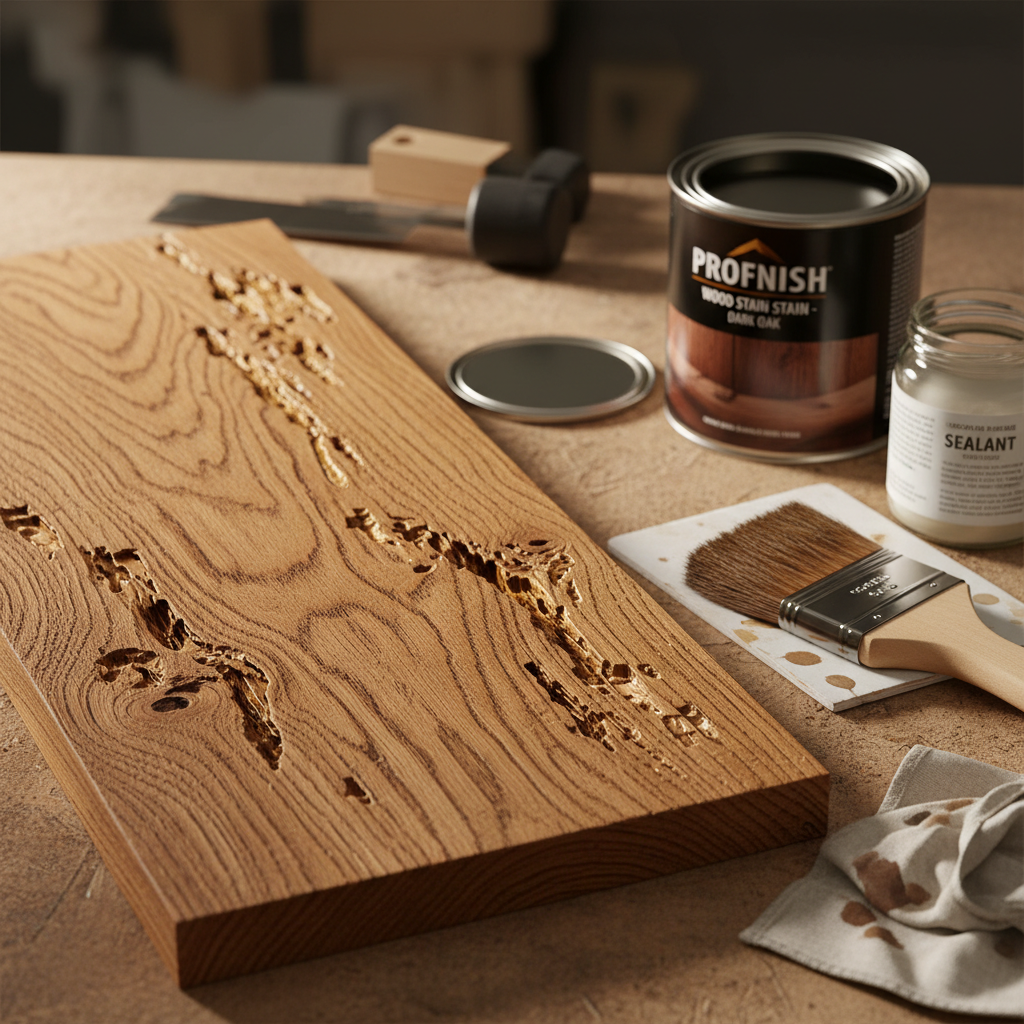
Look at a piece of red oak under decent light. You’ll see these little valleys running through the surface—pores where the tree moved water when it was alive. Some are big enough to catch your fingernail in them.
Now look at a piece of maple. Smooth as a baby’s cheek, even before you sand it. Those pores exist, but they’re so small you basically can’t see them.
Oak, ash, walnut, mahogany—they’ve all got visible pores. We call them open-grain woods. Cherry, maple, birch, beech—tiny pores, essentially invisible. Closed-grain woods.
Why does this matter? Because when you slather finish over open pores, the finish doesn’t fill them. It just coats them. And you get this bumpy texture that no amount of sanding seems to fix.
My First Disaster
That first oak tabletop—a 42-inch round I was making for a client—I sanded it to 220 just like I did with every other species. Applied three coats of oil-based poly, sanding between coats with 400 grit.
Client came to pick it up. She ran her hand across the surface, frowned, and said “It feels rough.” She was right. It felt like I’d finished coarse denim. All those pores were still there, just coated in shiny plastic.
She took it anyway because she’d already paid the deposit, but she never ordered from me again. Fair enough.
The Filling Solution
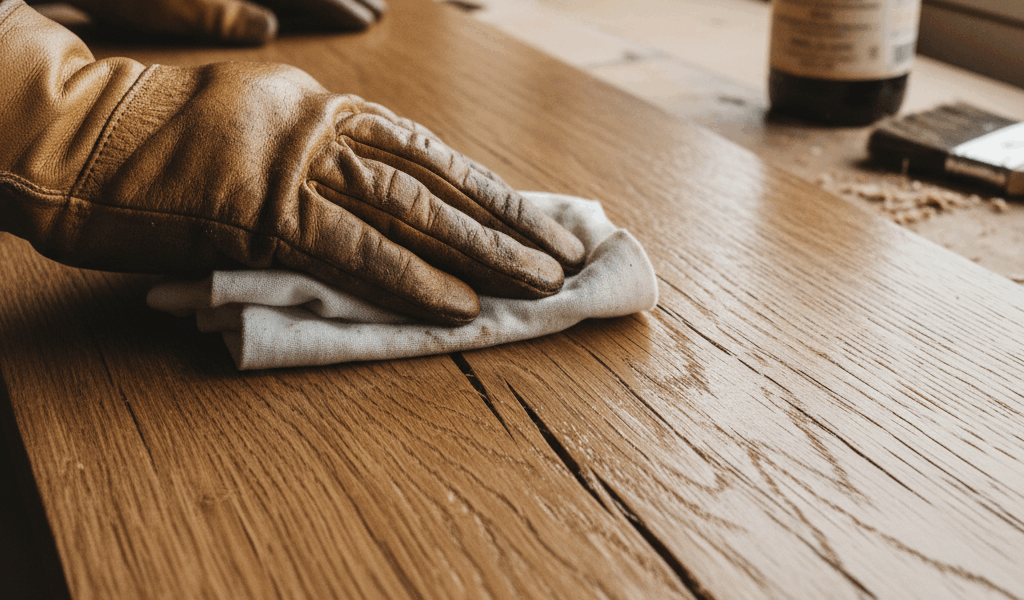
What I should have done: fill the pores before finishing. There are products specifically for this—grain fillers, they’re called. You smear the stuff across the surface, let it set up a bit, then wipe it off across the grain. The filler stays in the pores; the surface wipes clean.
After it dries, you sand lightly and proceed with your regular finish. The pores are now level with the surrounding wood, so your topcoat goes on smooth. Magic.
I’ve used maybe half a dozen different fillers now. Timbermate is my current go-to—water-based, cleans up easy, takes stain if you need it to. Old-timers swear by oil-based fillers. Both work. The technique matters more than the brand.
Or Just Embrace It
Here’s what I eventually learned: you don’t have to fill. Some of my favorite pieces now deliberately leave the grain open.
When you use a penetrating oil finish—Rubio Monocoat, Osmo, tung oil, whatever—it soaks into the wood and hardens without building a film on top. The pores stay visible and tangible. You can feel the texture of the actual wood under your fingers.
My current dining table is white oak finished with Rubio. Run your hand across it and you feel oak. Not plastic pretending to be oak. Actual oak texture.
Some clients specifically want this now. Contemporary furniture trends favor the natural, textured look. What I thought was a flaw is sometimes the feature.
Working With Walnut
Walnut confuses people because it’s sort of in between. The pores are smaller than oak but definitely visible. You can go either direction—fill or don’t—and both work.
I usually don’t fill walnut unless a client specifically requests that glass-smooth feel. The pores add character without being overwhelming. A few coats of arm-r-seal and it looks great with the texture intact.
But that’s personal preference. I’ve seen gorgeous filled walnut pieces. No wrong answer.
The Mistake That Still Gets Me
Even now, knowing all this, I occasionally mess up. Last year I finished an ash desk—beautiful curly ash, expensive lumber—and didn’t fill it. Applied a film finish. Looked terrible.
Ash has some of the most aggressive grain of any common wood. Those pores are deep. An oil finish would have been fine. But I’d used waterborne lacquer, which built up on the surface while leaving the pores as these weird divots. Client wanted it smooth. I had to strip the whole thing and start over.
Lesson: know your wood and know your finish before you commit. A test board takes ten minutes and saves hours.
What I Tell People Now
When someone asks me about finishing oak or ash, I start with a question: do you want to feel wood or do you want to feel smooth?
Want smooth? We’re filling and building film. More work, more materials, particular look.
Want texture? We’re using oil, maybe wax, keeping it natural. Less work, different look.
Neither is better. They’re different choices for different tastes. The only wrong answer is not making the choice deliberately—which is how I ended up with those three failed tabletops back when I didn’t know any better.


Stay in the loop
Get the latest master wood crafters updates delivered to your inbox.