“`html
Router Bit Burning Wood — Why It Happens and How to Fix It
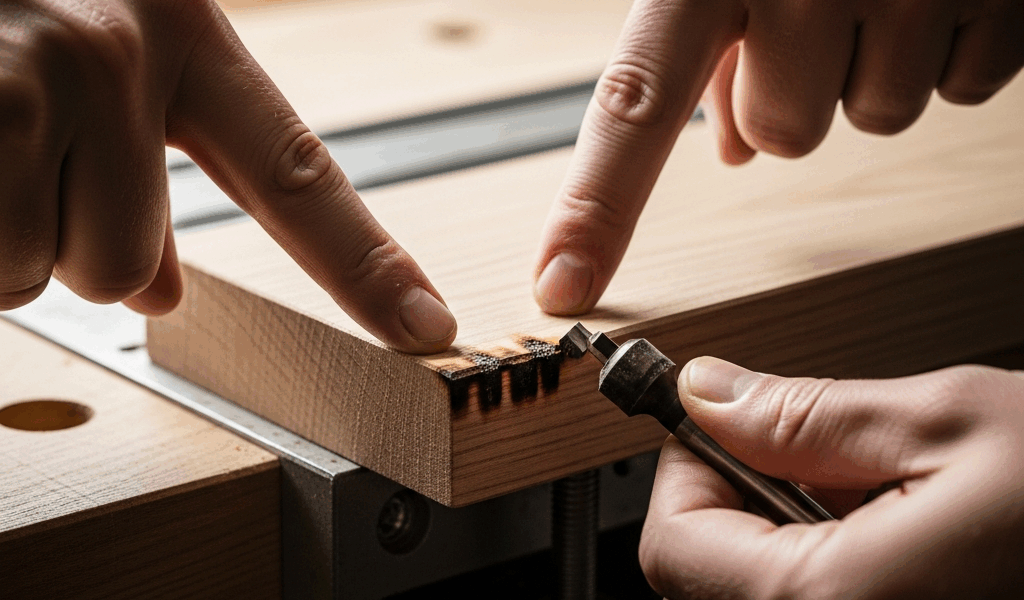
Router bit burning wood is one of those problems that makes you want to throw the whole project in the trash. You make a pass, lift the router, and there it is — a dark brown scorch mark running the length of your cut like a scar on otherwise clean maple or cherry. I’ve been routing furniture parts, cabinet doors, and decorative edges for going on fifteen years, and I still remember the first time I burned a rail on a cope-and-stick door set. Ruined a piece of quartersawn white oak I’d been babying for a month. That experience sent me down a rabbit hole of diagnosing exactly why burn marks happen, and the answer almost always comes down to one of four things.
The Four Causes of Router Burn Marks
Before you adjust anything, you need to know which problem you’re actually dealing with. Throwing solutions at a burn mark without a diagnosis wastes time and wood. Here’s the short version: your bit is either spinning too fast, moving too slowly through the material, too dull to cut cleanly, or it’s the wrong geometry for what you’re cutting.
Cause 1 — Speed Too High
Most routers, even budget ones like the DEWALT DWP611 or the Bosch 1617EVS, run somewhere between 8,000 and 24,000 RPM. That range exists for a reason. Smaller bits need higher speeds. Larger bits need lower speeds. When you run a 1-inch roundover bit at 22,000 RPM, the carbide tips are moving so fast they generate friction heat faster than the chip load can carry it away. The wood doesn’t get cut — it gets cooked.
This is probably the most common cause I see in beginner work. People set the router to max and leave it there. Easy fix. Slow it down.
Cause 2 — Feed Rate Too Slow
This one surprises people. Moving slower feels safer. It isn’t. When you creep through a cut, each carbide edge contacts the wood fibers for longer than it should, rubbing and heating instead of slicing cleanly. The technical term is chip thinning, but you don’t need the theory — you just need to move with purpose. Hesitate, and you burn.
Cause 3 — Dull Bit
A sharp carbide edge severs wood fibers. A dull one crushes and drags them. The heat generated by a dull bit is dramatically higher than a sharp one, even at the correct speed and feed rate. Dense hardwoods like hard maple and hickory are unforgiving here. You might get away with a slightly dull bit in pine. You won’t in maple.
Cause 4 — Wrong Bit Type for the Wood
Spiral upcut bits, straight bits, compression bits — they’re not interchangeable for all situations. Running a straight two-flute bit through MDF at high speed in a single deep pass will burn almost every time. A spiral bit with better chip evacuation handles the same material without breaking a sweat. Dense, resinous woods like cherry and teak need sharp, clean-cutting geometry and frequent passes.
Quick Diagnostic Checklist
- Is the burn mark uniform along the cut, or only at the start and end? — Uniform usually means speed. Start/end burn usually means feed rate (you paused).
- Does the bit feel hot after the cut? — Normal bits run warm. Hot to the touch means friction, usually a dull bit or too-high RPM.
- When did you last replace or sharpen this bit? — If you can’t remember, that’s your answer.
- Are you making a full-depth pass in one shot? — Take multiple lighter passes instead.
- Is the wood resinous or dense? — Cherry, teak, and hard maple are high-risk woods for burning.
RPM Chart by Router Bit Diameter
Probably should have opened with this section, honestly. This table is the most practically useful thing in the article, and if you’re in the middle of a project right now, this is what you need.
These ranges come from a combination of manufacturer recommendations and real-world experience. Different carbide grades and bit designs shift these numbers slightly, but this gets you in the right ballpark for 95% of general routing work.
| Bit Diameter | Recommended RPM Range | Notes |
|---|---|---|
| Up to 1 inch (25mm) | 22,000 — 24,000 RPM | Flush trim, straight bits, small roundovers. Max speed is fine here. |
| 1 inch to 1.5 inches (25–38mm) | 18,000 — 22,000 RPM | Medium roundovers, rabbeting bits, dado sets. |
| 1.5 inches to 2 inches (38–51mm) | 14,000 — 18,000 RPM | Large cove bits, raised panel bits on lighter cuts. |
| 2 inches to 2.5 inches (51–63mm) | 10,000 — 14,000 RPM | Raised panel bits, large ogee profiles. Never run these at max speed. |
| Over 2.5 inches (63mm+) | 8,000 — 10,000 RPM | Large panel raisers, bowl bits. Use a router table only. Go slow. |
A quick note on variable-speed routers — the dial markings on most units (1 through 6 on a Bosch 1617, for instance) don’t translate linearly to RPM. Download the spec sheet for your specific model and find the actual RPM-per-setting chart. The Bosch 1617 at setting 3 is around 16,000 RPM. Setting 5 is around 21,000. The numbers matter.
Feed Rate — How Fast to Move Through the Cut
There’s no universal number here, and anyone who gives you a specific feet-per-minute figure without knowing your bit diameter, wood species, depth of cut, and router setup is guessing. What I can give you is a reliable framework.
Consistent speed matters more than fast speed. The worst burns I’ve ever put in a workpiece came from hesitating mid-pass — stopping to reposition my grip, flinching at a knot, or letting the router dwell while I figured out where I was going. The bit kept spinning. The wood sat there. Burn.
Before you commit to a finished piece, run the cut on scrap from the same board. Not just similar wood — same board, same orientation. Spend two minutes on this. It has saved me more board feet of expensive hardwood than I can count.
End Grain vs Face Grain
End grain burns faster. Full stop. The open pores on end grain absorb heat differently than face grain, and the fibers tear rather than slice unless your bit is razor sharp. When routing end grain — box joints, table apron ends, breadboard edges — slow your RPM slightly from the chart above, make sure your bit is freshly sharpened, and keep your feed rate steady and slightly faster than you’d use on face grain.
Burned by a ruined breadboard on an early workbench build, I started making a habit of routing end grain in two passes — a light first pass at about 1/8 inch depth, then a full-depth cleanup pass. The first pass establishes a clean kerf that reduces tear-out and burning on the final pass. Takes thirty extra seconds. Works every time.
Climb Cutting — A Last Resort
Climb cutting — moving the router in the same direction as bit rotation rather than against it — can help with burning on difficult grain. It reduces heat buildup on certain species. It also introduces real kickback risk. Use it only for light final passes (no more than 1/16 inch) and only if you’re experienced with router handling. Not a beginner move.
When to Replace Your Router Bit
The honest answer: most hobby woodworkers wait too long. A $25 to $40 carbide bit from a reputable brand like Whiteside, Freud, or CMT should stay sharp for years of moderate use. But “moderate” is relative. If you’ve been routing cabinet doors for a season, your cope-and-stick set is probably tired.
Signs of a Dull Bit
- Burning that wasn’t happening before, at the same speed and feed rate
- Fuzzy or torn edges instead of clean, sharp profiles
- The router bogging down slightly under load where it used to run freely
- Carbide edges that look gray or have visible flat spots when examined under a loupe or strong light
Carbide vs HSS Lifespan
High-speed steel (HSS) bits are cheap — sometimes $5 to $8 each — and they go dull fast. In hardwood, an HSS bit can lose its edge in a single session of heavy routing. Carbide-tipped bits cost more upfront but last dramatically longer. A Whiteside 1/2-inch roundover in solid carbide runs around $35 to $45 and will outlast a stack of HSS bits by a wide margin. Buy carbide. Don’t compromise here.
Sharpening vs Replacing
Professional bit sharpening services exist and they work. A local sharpening shop or a mail-in service like Forrest or Ridge Carbide can sharpen most router bits for $8 to $18 per bit. It makes sense for expensive bits — a $80 raised panel set is worth sharpening three or four times before retiring it. For a $25 straight bit, the math gets murkier. My general rule: sharpen anything over $40. Replace anything under $25 that’s showing signs of wear.
One thing sharpening can’t fix — a chipped carbide edge. Chips happen when bits hit embedded metal (staples, nails, old fasteners) or are dropped on concrete. A chipped bit will burn and tear no matter how carefully you use it. Replace it.
Storage Matters More Than People Think
Carbide edges are hard but brittle. Storing bits loose in a drawer where they knock against each other chips edges faster than actual use does. I keep mine in the plastic cases they came in, or in a simple wooden block with holes drilled to the appropriate shank diameter. Ten minutes to make, and it’s extended the life of my bits noticeably.
Router burn marks are fixable in the moment — light sanding with 150 grit followed by 220 will remove superficial scorch on most woods — but that’s treating the symptom. Get the speed right, keep your feed rate steady, use sharp bits, and the burns stop happening in the first place. That’s the whole system. It works.
“`


Stay in the loop
Get the latest master wood crafters updates delivered to your inbox.