
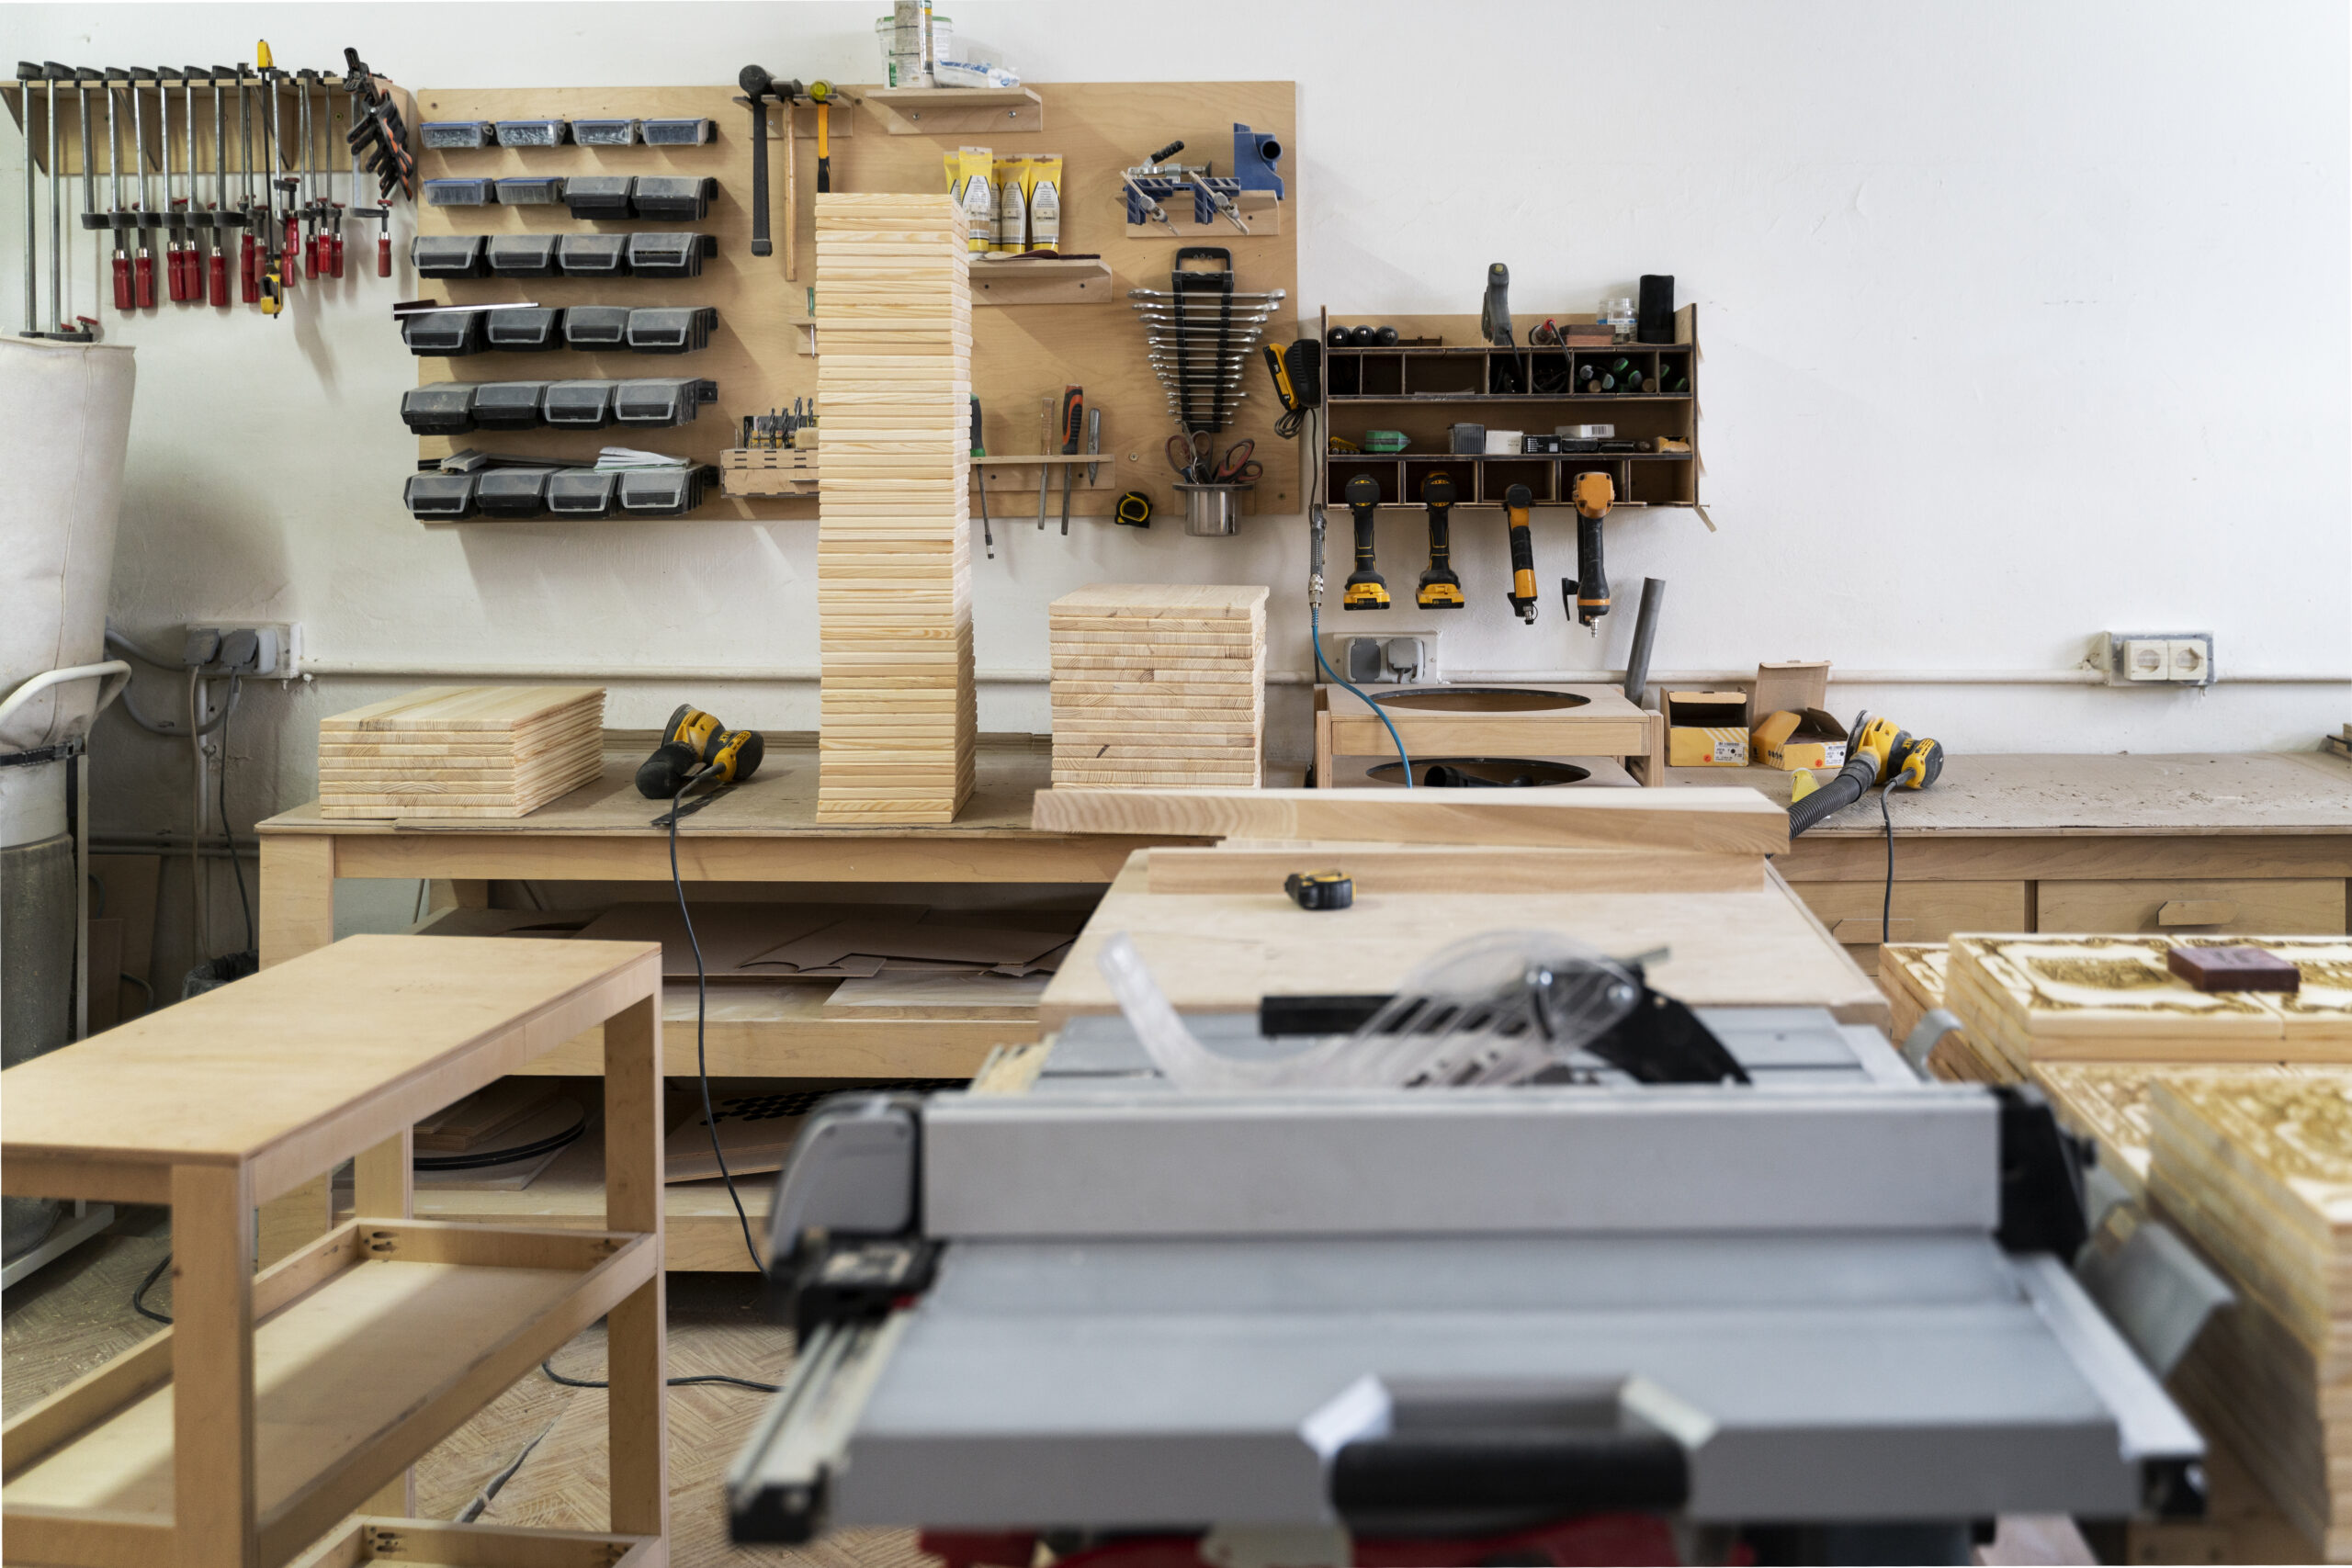
Why Joinery Defines Quality Woodworking

The difference between furniture that survives generations and pieces that end up at the curb comes down to one thing: joinery. Modern adhesives and fasteners have their place — I’m not going to pretend otherwise — but understanding traditional wood joints gives you the foundation to build anything with real confidence. That’s what makes joinery endearing to us woodworkers who actually care about what we build — it’s the invisible architecture that determines whether your work lasts.
Strong joinery distributes stress across the wood grain, creating connections that genuinely get stronger as the wood seasons together. This isn’t romantic nostalgia — it’s physics. Antique furniture built with mortise and tenon joints still stands solid after centuries of use, while particle board shelves start sagging within months. The joint design explains the difference entirely.
The Core Principles of Wood Joinery
Grain Direction Matters
Wood is dramatically stronger along its grain than across it — and every joint you cut needs to account for how the fibers run through each piece. Long-grain to long-grain glue joints are remarkably strong, often stronger than the wood around them. End-grain glue joints are unreliable at best and need mechanical reinforcement (dowels, splines, or interlocking geometry) to achieve any meaningful strength. Ignore grain direction and your joinery will fail regardless of how precisely you cut it.
Precision Is Non-Negotiable
A joint that fits too loosely will never be strong, no matter how much glue you flood into the gap. Glue works by creating thin films between mating surfaces — thick glue lines are weak glue lines. On the other end, a joint that’s too tight will split the wood during assembly or create internal stresses that cause failure later. The target is a friction fit that slides together with firm hand pressure but doesn’t wobble. Getting there requires marking accurately, cutting carefully, and testing on scrap before touching your project wood.
Wood Movement Must Be Accommodated
Solid wood expands and contracts with humidity changes — that’s not a defect, it’s the material behaving normally. Joints must allow for this movement, particularly when connecting pieces with grain running in perpendicular directions. A tabletop that’s glued rigidly to its base will eventually crack because the top wants to expand across its width while the base restricts it. Every experienced woodworker has a story about a piece that cracked because wood movement was ignored. Don’t add to the collection.
Essential Joints Every Woodworker Should Master
Butt Joint
The simplest joint there is — two pieces meeting end to end or at right angles. Weak on its own, but it teaches you the fundamentals of how wood pieces interact. Usually reinforced with screws, dowels, or biscuits. Don’t dismiss it; plenty of solid furniture uses reinforced butt joints where they’re structurally appropriate.
Dado and Rabbet
Grooves cut into wood to receive another piece. Dados run across the grain; rabbets run along edges. These are the backbone of shelving, drawer construction, and case work. A bookshelf with shelves sitting in dados is mechanically solid even before you add glue — the groove prevents the shelf from moving in the direction that gravity is pulling it.
Mortise and Tenon
The workhorse. A projecting tenon fits into a matching rectangular hole (the mortise). Used for table legs, chair frames, door frames, and basically any load-bearing connection in furniture. When properly cut — and “properly” means snug fit, square shoulders, and adequate glue surface — this joint can outlast the building it sits in. There’s a reason it’s been the default for five thousand years.
Dovetails
Interlocking pins and tails that mechanically resist being pulled apart. The signature of quality drawer construction and fine casework. Hand-cut dovetails are widely considered the mark of a skilled woodworker; machine-cut versions produce consistent results for production work. Either way, the geometry does real structural work beyond just looking impressive.
Box Joints (Finger Joints)
Interlocking rectangular fingers that maximize glue surface area. Considerably easier to cut than dovetails, especially with a simple table saw jig. Excellent for boxes, drawers, and any application where you want visible joinery as a design element. The alternating end-grain pattern creates visual interest, particularly in contrasting woods.
Choosing the Right Joint for Your Project
For drawers: Dovetails or box joints at the corners, dados to capture the bottom panel. This combination handles the pulling forces of daily use while supporting the weight of contents.
For table and chair frames: Mortise and tenon joints, possibly reinforced with wedges or drawbore pins for extra security. The forces in chair joints are surprisingly high — people lean back, rock, and twist.
For cabinet carcases: Dados for fixed shelves, rabbets for back panels, edge-to-edge joints (with biscuits or dowels) for gluing up wide panels from narrower boards.
For frames and doors: Mortise and tenon or cope-and-stick joints for the solid frame, with floating panels that can expand and contract freely inside the grooves. The panel must never be glued in place.
Building Your Joinery Skills
Start with small projects that let you practice one joint type repeatedly. A box with finger joints teaches precision, fit, and glue-up technique. A step stool with mortise and tenon joints introduces you to furniture-scale construction. Don’t leap straight to a dining table — build skills incrementally.
Invest serious time in layout before you cut anything. A marking gauge, sharp pencil, and reliable square are worth more than the most expensive saw if your lines aren’t accurate. Mark your waste areas clearly — cutting on the wrong side of a line is the most common and most preventable mistake in joinery.
Practice on scrap of the same species you’ll use for your project. Every wood behaves differently under tools. Softwoods are forgiving of fit errors but can crush under clamping pressure. Hardwoods hold precise dimensions beautifully but punish any mistake with cracking or tearout. Get comfortable with the specific material before committing your project lumber.
Above everything else: keep your tools sharp. A dull chisel tears fibers instead of slicing cleanly, leaving rough surfaces that weaken glue joints. A dull saw blade wanders off your line and burns the wood. Sharp tools aren’t a luxury — they’re what make accurate joinery physically possible.
The Bottom Line
Joinery is the heart of woodworking. A beautiful finish can’t hide a weak joint, and the most expensive lumber won’t save a poorly constructed piece. Master the fundamentals — grain direction, precision fitting, and respect for wood movement — and you have the foundation to build furniture that genuinely lasts.
Every joint you cut teaches you something. The mistakes reveal where to focus next time. The successes build confidence for more ambitious projects. Start simple, practice with intention, and let your joinery skills grow through actual hands-on cutting rather than watching more YouTube videos. The learning lives in the doing.


Stay in the loop
Get the latest master wood crafters updates delivered to your inbox.