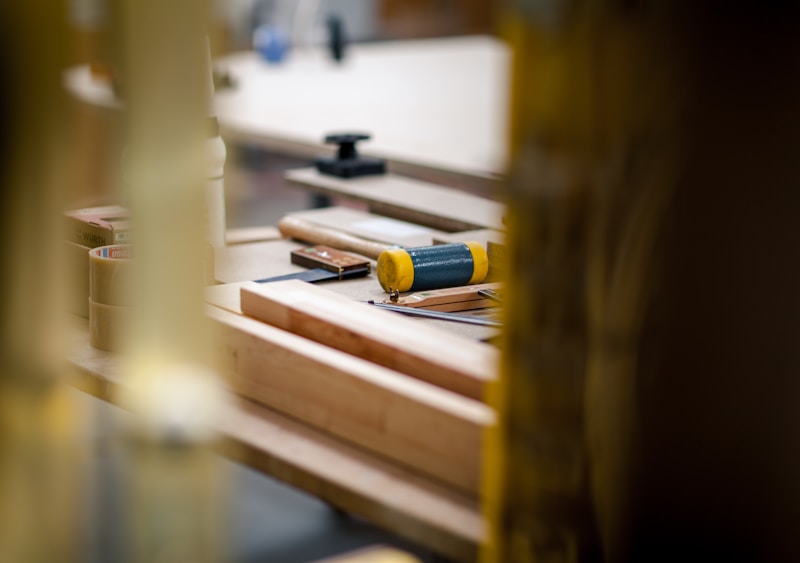
Rabbet Joint Box
Rabbet Joint Box
Building a rabbet joint box can be a rewarding project. Rabbet joints are known for their simplicity and strength. They allow for a clean fit and are easier to cut compared to more complex joints. This article will guide you through the essentials of making a rabbet joint box.
Materials and Tools
To start, gather the necessary materials and tools. You will need:
- Wood stock (for the sides, bottom, and lid of the box)
- Wood glue
- Clamps
- Table saw or router with a rabbeting bit
- Measuring tape or ruler
- Pencil
- Sandpaper
- Wood finish or paint (optional)
Preparing the Wood
1. First, measure and cut your wood pieces to size. Typically, you will need four pieces for the sides and one each for the bottom and lid. Ensure all pieces are square and of equal thickness.
2. Mark the depth of the rabbet on the edge of the side pieces. A typical depth for a rabbet is half the thickness of the wood. This provides enough material for a strong glue joint while keeping the cut simple.
Cutting the Rabbets
1. Use a table saw with a dado blade set to the appropriate width and depth. Alternatively, you can use a router with a rabbeting bit. These tools make cutting accurate rabbets straightforward.
2. Set your saw or router to the marked depth and width. Cut the rabbet along the edge of each side piece. Ensure the cuts are clean and the edges sharp.
3. Dry fit the pieces together to check for accuracy. The rabbet should snugly fit the mating piece without gaps. Sand any rough edges to ensure a perfect fit.
Assembling the Box
1. Apply wood glue sparingly to the rabbets. Excess glue can be wiped away with a damp cloth. Avoid using too much glue to maintain a neat joint.
2. Fit the sides together, pressing them firmly into place. Use clamps to hold the pieces together as the glue dries. Make sure the box remains square during this process.
3. Glue the bottom piece into place. If you prefer, you can cut a groove in the sides to fit the bottom piece for added stability. This step will require careful measurement and cutting.
Finishing Touches
1. Once the glue has dried, remove the clamps. Sand the entire box to smooth out any imperfections. Pay special attention to the edges and corners, ensuring they are not sharp.
2. If desired, apply a wood finish or paint to protect and enhance the appearance of your box. Follow the manufacturer’s instructions for best results.
Benefits of Rabbet Joints
Rabbet joints provide a strong and simple joinery method. They offer the following benefits:
- Ease of construction with basic tools
- Strong joints suitable for various projects
- Clean and professional appearance
They are ideal for beginners and experienced woodworkers alike. Learning to master the rabbet joint opens the door to many other woodworking projects.
Common Uses
Rabbet joints are used in various applications:
- Cabinet making
- Drawer construction
- Picture frames
- Wooden boxes
They are versatile and provide a strong, seamless joint. This makes them suitable for both functional and decorative projects.
Maintenance
Regularly check your rabbet joint box for any signs of wear or damage. Depending on the environment it is kept in, periodic reapplication of finish or paint may be necessary. Keep the box clean and dry to ensure its longevity.
Conclusion
Building a rabbet joint box is a practical woodworking project. It requires basic tools and techniques, making it accessible to most woodworkers. The result is a strong, neat, and functional box. Experiment with different wood types and finishes to create a range of boxes for various uses.
Shop Woodworking Supplies on Amazon
Get quality woodworking tools and materials delivered to your workshop:
As an Amazon Associate, we earn from qualifying purchases.


