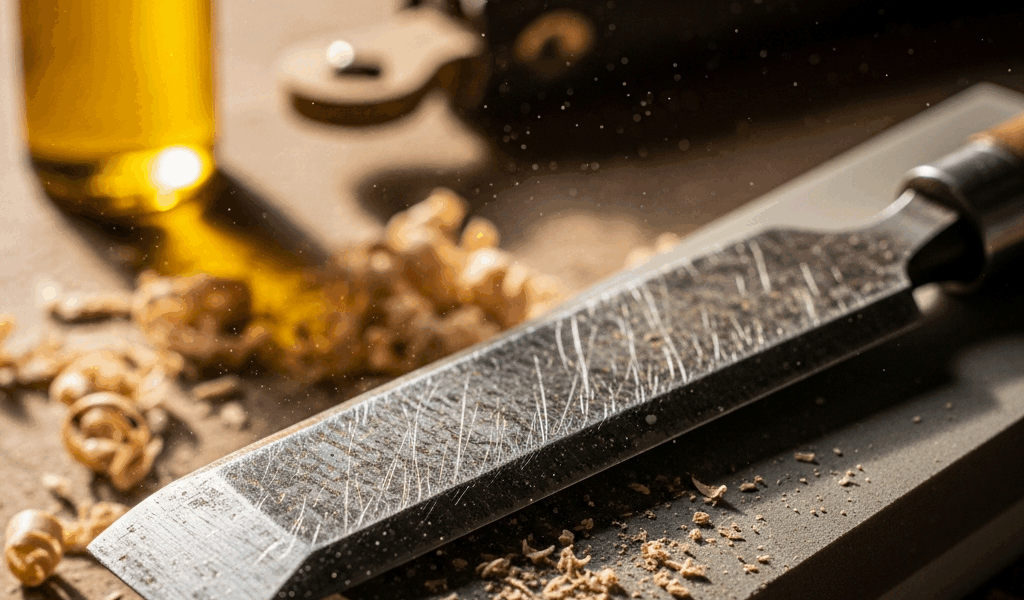
Why Your Chisels Dull Faster Than They Should
I spent three years thinking I was terrible at sharpening. Every time I pulled a chisel from my tool roll, the edge would fold over by midday. I’d strop it. Still dull. I’d flatten the back. Still dull. Probably should have opened with this section, honestly—the real culprit wasn’t my sharpening technique at all. It was how I was using the tools.
Chisels dull faster than most woodworkers expect because they’re hitting things they shouldn’t. A hidden nail or screw buried in reclaimed wood will demolish an edge in seconds. I once mortised into a Victorian floorboard and caught a 2-inch square nail head dead center. The chisel stayed in my toolbox for six months afterward.
Prying with chisels wrecks edges faster than anything else. The tool isn’t designed for leverage. A 1-inch Atsuko chisel has an acute angle engineered for slicing wood fibers, not bending under sideways pressure. When you use it to pry up flooring or separate glued joints, you’re introducing lateral stress that bends the edge back on itself—sometimes permanently.
Contaminated stropping compound kills edge life in ways you won’t notice until it’s too late. If your leather strop has dust, metal particles, or old compound buildup, you’re literally grinding your edge backward every time you use it. I discovered this the hard way after stropping on leather that had been sitting next to my metal file rack for six months. The particles embedded in the leather were doing micro-damage I couldn’t see.
The chisel back being improperly flattened is silent sabotage. If the back isn’t flat from the tang to the edge, you have a tiny gap where the edge meets the stone. That gap means you’re not actually sharpening the last millimeter of the edge—the critical part that does the cutting. Many woodworkers spend money on quality stones but skip this step entirely.
Finally, a dull grinding wheel compounds everything. If your bench grinder hasn’t been dressed in five years, it’s glazed. The abrasive particles are worn smooth. You’re grinding for twice as long, generating excessive heat, and leaving a scratched surface that dulls immediately after stropping.
Signs Your Chisel Edge Is Truly Dull vs Just Needing a Strop
Here’s where most woodworkers waste time. They think stropping will fix a genuinely dull edge. It won’t.
The hair-shaving test is the fastest check. Hold the chisel vertically under arm hair (or leg hair) and gently press upward. A truly sharp edge will sever the hair cleanly. A dull edge will press the hair flat without cutting. If you need to drag or apply pressure, strop first. If the hair just flattens, you need stones.
The paper-cutting test works too. Use standard printer paper, not cardboard. A sharp edge will slice through smoothly on the first downward stroke. A dull edge will crush the fibers and tear irregularly. You’ll hear the difference before you feel it.
Visual inspection under magnification reveals the wire edge—a fuzzy, bent-over piece of metal at the very tip of the blade. If you see a visible line of reflection along the edge under a desk lamp, that’s a micro-burr that stropping might remove. If the edge looks rounded and lacks any defined line, you need stones.
Many woodworkers keep stropping a dull edge for weeks because they’re not using this test. They notice the tool drags a little, so they strop. Still drags, so they strop again. By week three, they’ve wasted 30 minutes on stropping when five minutes with a 6000-grit stone would have solved it.
The Fastest Way to Sharpen Dull Chisels Back to Sharp
While you won’t need an expensive water stone setup, you will need a handful of decent stones. I’ve gotten beautiful results with $40 worth of supplies.
First—non-negotiable—flatten the back of the chisel on your coarsest stone. A dull 1000-grit waterstone works. Put light pressure on the back near the edge and work in figure-eights for 20 seconds. You’ll see a small scratch pattern develop. When the scratch reaches the edge itself, the back is flat. Do this once every six months whether you think you need it or not.
For the actual sharpening, a two-stage waterstone progression is fastest. Use a 1000-grit stone to re-establish the bevel. Clamp the chisel in a simple honing guide if you’re not confident holding a 25-degree angle freehand. I use the Eclipse style—$25 on Amazon, model EG-1—and it holds perfectly. Work on the 1000-grit until you see a continuous scratch pattern across the entire bevel face. This takes two minutes for most chisels.
Move to a 6000-grit stone immediately. This is where the actual sharpness develops. The fine abrasive refines the scratches from the 1000-grit and creates a polished surface that’s efficient at slicing. Spend another minute here, light pressure only.
If your chisel is genuinely damaged—large chips or gouges—use the 1000-grit longer. Expect five minutes instead of two. The 6000-grit won’t fix deep damage.
Oil stones work too, though they’re slower. A coarse oil stone (around 100-grit equivalent) followed by a fine stone (800-grit equivalent) will sharpen just as well. They’re messier and take longer—maybe 50% more time overall. That’s because oil stones demand patience. Waterstones wear flat and need regular flattening, but they get you there faster.
Diamond plates are the fastest but hardest on your wrists. A coarse diamond (120-grit equivalent) and fine diamond (300-grit equivalent) setup works well. The grit numbers are lower because diamonds cut more aggressively. You’ll sharpen in two minutes, but you’ll feel the resistance in your forearms by chisel number four.
How to Keep Chisels Sharp Longer Between Sharpenings
Storage matters more than most people realize. A magnetic strip on your shop wall is non-negotiable—at least if you want edges that stay sharp. Chisels shouldn’t rattle around in a toolbox where the edges kiss each other or catch on metal edges of other tools. I use a 24-inch strip from Woodstock ($18) and it holds eight chisels edge-up. The magnet is strong enough that they won’t shift during shop vibration.
Edge guards are cheap insurance. Leather or hardboard sleeves cost $3 apiece and prevent accidental contact with workbenches. Don’t skip this if you’re transporting chisels to a job site.
Stropping matters, but only with clean leather. Keep a small strop in your apron or work jacket. Fresh compound goes on once monthly. I’m apparently the type who recompounds every four weeks with white rouge, and that works for me while some people get by with monthly applications. Before stropping, inspect the leather surface under a desk lamp. If you see dust or particle buildup, brush it gently with a soft brush. A contaminated strop is worse than no strop.
The reset strop concept changed how long my edges stay sharp. After fine work—mortising, paring end grain—do a quick five-stroke strop immediately. This realigns any micro-deformation from the fiber compression while the metal is still warm and slightly flexible. It takes 10 seconds and extends usable edge life by hours.
Avoid hard woods right after fine work. If you’ve just finished delicate paring on a cherry mortise, don’t immediately switch to oak framing. The softer wood first lets your edge stay in the “polished” state longer. Hard wood dulls edges faster because the grain is denser and more abrasive.
When to Replace vs Sharpen Old Chisels
This is where I see woodworkers throw away perfectly good tools. A vintage chisel with a flat back and quality steel is worth restoring. A new budget chisel with a curved back? Not always.
Examine the back first. Sight along it against a bright window. If it’s flat within a quarter-inch across the first two inches from the edge, restoration is worth it. If it’s curved like a banana, flattening it means removing steel from the entire back. The cost in time (and abrasive) usually exceeds buying a new 1-inch Narex or Irwin chisel ($15–30).
Check the tang. If it’s cracked or if there’s rust pitting deeper than 1/32 inch, consider replacement. Rust in the tang often travels. A pitted tang is structurally compromised.
Damaged bevel edges can be restored if the damage is less than 1/8 inch deep. Use your 1000-grit stone more aggressively. Expect 10 minutes of work. If the chip is larger, the chisel is better suited to rough work (chopping out mortises) than fine work (paring).
Cost-benefit: An Atsuko 1-inch chisel costs $35–45. Flattening its back, sharpening, and bringing it to full function takes 30 minutes. If you already own the stones, that’s worthwhile. If you need to buy stones to service one chisel, buying a new Narex becomes smarter.
I keep my vintage Barton chisels from estate sales and restore them once. If they don’t perform better than modern options after restoration, they become paring tools for rough work. New chisels enter the fine-work rotation.


Stay in the loop
Get the latest master wood crafters updates delivered to your inbox.