Building a Solar Kiln: My Plans and What I Wish I’d Known Sooner
As someone who got tired of paying for kiln-dried lumber, I learned everything there is to know about solar kilns. Today, I will share it all with you. Building one was honestly one of the best decisions I’ve made for my shop — free energy, dried lumber, and a conversation starter whenever someone visits.
What’s a Solar Kiln, and Why Should You Care?
Wood drying has gotten complicated with all the industrial methods flying around, but a solar kiln strips it back to basics. You’re using sunlight to pull moisture out of green lumber — that’s it. No electricity bills, no fossil fuels, just the sun doing its thing. A well-built one can get your boards down to workable moisture content in a few weeks, depending on the weather and species you’re drying.
Materials You’ll Need
Nothing exotic here. Most of this you can grab at the local home center:
- Plywood sheets for the walls and floor
- 2×4 lumber for the frame
- Polycarbonate panels or heavy-duty clear plastic sheeting for the roof
- Screws, nails, and construction adhesive
- Rigid foam insulation
- Flat black paint (non-toxic — the fumes matter in an enclosed space)
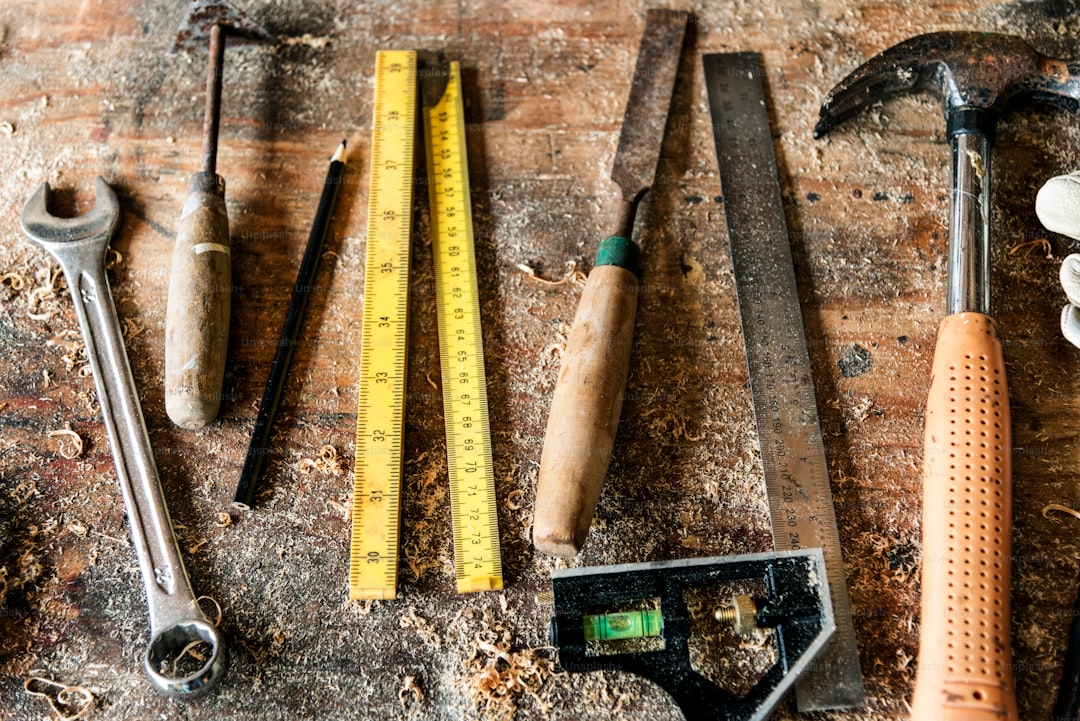
- A thermometer and hygrometer to monitor conditions
- Door hinges and weather stripping
The Build Process, Step by Step
Probably should have led with this section, honestly. Here’s how I built mine:
First, pick your spot. You want maximum sun exposure, so south-facing is ideal. I put mine on a slight concrete pad, but level ground works fine. Frame it up with 2x4s — think of it like building a big rectangular box with a slanted top. The slope matters because it angles toward the sun and helps rain shed off the roof glazing.
Sheathe the frame in plywood on all sides and the bottom. Leave an opening on one end for a door. Next, line the inside walls with rigid foam insulation — this is what keeps the heat in on cloudy stretches and overnight. I used 1.5-inch foam board and it works great.
The roof gets polycarbonate panels or heavy clear plastic. This is your solar collector, so make sure it’s tight and sealed. Any gaps leak heat fast. Screw it down well and caulk the seams.
Paint the interior flat black. Every surface you can hit. Black absorbs heat like nobody’s business, and that’s the whole engine driving this thing. Let it dry fully before loading any wood.
Hang a sturdy plywood door with good hinges and add weather stripping around the frame. A loose door kills your efficiency.
Cut small vents near the top of the side walls. These are your humidity controls — open them when moisture needs to escape, close them when you want to trap heat. It’s a balancing act you’ll get a feel for over time.
Loading and Monitoring
Stack your lumber with stickers (spacer strips) between each layer so air can circulate around every board. Keep the stacks balanced and not touching the walls. Then check your thermometer and hygrometer daily. On a good sunny day, interior temps can reach 130-150 degrees Fahrenheit, which is perfect for driving out moisture without cooking the wood.
Getting Better Performance
A small solar-powered fan inside makes a huge difference. It keeps the air moving so you don’t end up with dry boards on top and wet ones on the bottom. I added a cheap 12V computer fan wired to a small solar panel on the outside, and my drying times dropped noticeably.
Rotating the lumber periodically helps too. I’ll shuffle the stack about once a week — move the outer boards to the center and vice versa. It’s a little extra work but the consistency is worth it.
Maintenance and Safety
Check the glazing after storms. A cracked panel means lost heat and potential water damage to your lumber. Inspect the insulation yearly and replace any spots that look deteriorated. And don’t overload the thing — cramming too much wood in there restricts airflow and can actually promote mold instead of preventing it.
Why I Love My Solar Kiln
Free energy. Seriously, that’s reason enough. But beyond the cost savings, I’m drying my own locally sourced lumber now. I can pick up rough-cut boards from a local sawmill for a fraction of what kiln-dried stock costs at the lumber yard. The quality is excellent, and I know exactly what I’m getting because I monitored the whole process.
That’s what makes solar kilns endearing to us hobbyist woodworkers — they put you in control of your material from nearly the very beginning.
What the Dried Wood Is Good For
Everything, honestly. Furniture, cabinetry, trim work, turning blanks, you name it. Properly dried wood is stable, predictable, and a pleasure to work with. If you’ve ever had a project warp on you because the lumber wasn’t dry enough, a solar kiln fixes that problem at the source.
Advanced Upgrades If You Want to Get Serious
Thermostatically controlled vents are a nice luxury — they open and close automatically based on temperature and humidity, so you’re not out there fiddling with things every day. Bigger kilns for production-level drying are totally doable too, just scale up the same design. And if you really want to optimize, rigid foam insulation outperforms fiberglass batts in this application because it handles the heat and moisture better long-term.
Building a solar kiln was one of those projects where the payoff just keeps compounding. Every board I dry is basically free, the quality is great, and it scratches that self-reliance itch that most of us woodworkers have. If you’ve got the yard space, I can’t recommend it enough.

Stay in the loop
Get the latest master wood crafters updates delivered to your inbox.