What Bandsaw Blade Drift Actually Is
Bandsaw blade drift has gotten complicated with all the conflicting advice flying around. Half the forum posts blame the fence. The other half blame tracking. Almost nobody talks about the blade itself — which is, more often than not, the actual culprit.
So let me be direct about what drift is. In essence, it’s when your blade pulls to one side as you feed stock straight forward, forcing you to angle your fence just to cut parallel to the table edge. The blade wants to travel at 5, 10, sometimes 20 degrees off true instead of running straight. But it’s much more than a nuisance — it’s a diagnostic signal your saw is sending you, and most woodworkers misread it completely.
I learned this firsthand after picking up a used Jet 14-inch bandsaw and spending two hours adjusting the fence. Two hours. The blade was just shot. Don’t make my mistake.
The Three Most Common Causes of Drift
Blade tension too low. A blade that isn’t pulled tight enough flexes sideways under cutting pressure. It wanders because nothing is holding it rigid. You can test this without making a single cut — pluck the blade like a guitar string. A properly tensioned blade gives you a solid, clear note. A loose one just thuds.
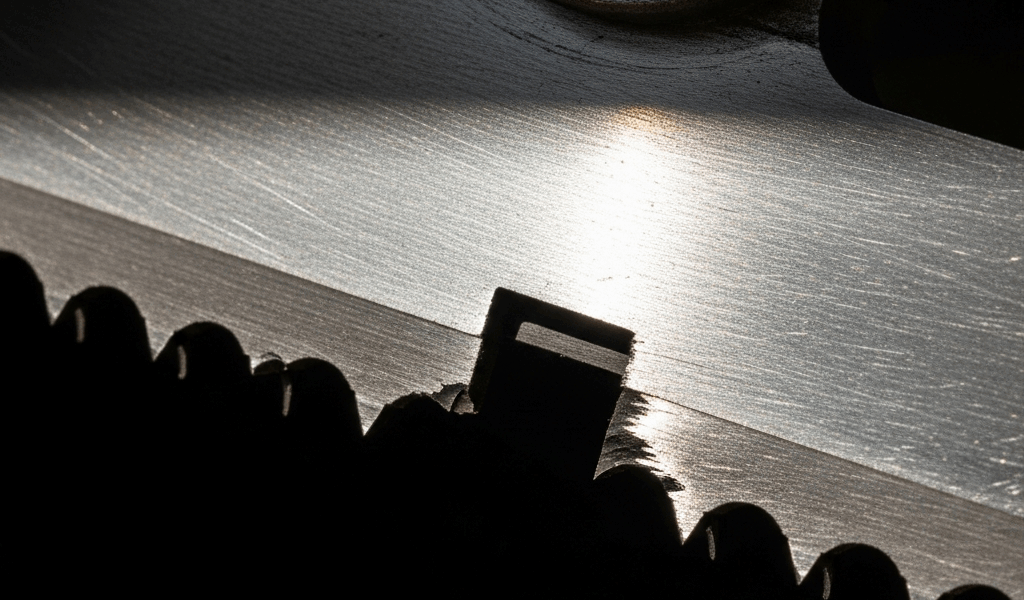
Uneven or worn tooth set. Tooth set is how the teeth are bent left and right to create kerf width. A cheap blade or one that’s logged 50 rips might have inconsistent set — three teeth leaning left, two barely bent at all, one sitting nearly vertical. The blade pulls toward whichever side has tighter teeth, because that side cuts more aggressively. That’s what makes drift so maddening to diagnose without actually looking at the blade up close.
Guides positioned out of true. Upper and lower guides sitting too far forward, too far back, or misaligned relative to each other will skew how the blade tracks through the cut. Less common than the first two problems — but it happens. Still, check the blade first. Most people don’t.
How to Test Which Cause You’re Dealing With
Probably should have opened with this section, honestly. Testing takes about 10 minutes and saves you from chasing ghosts for an entire afternoon.
The drift angle test. Cut a straight line on scrap stock using your normal technique — let the blade do the work, don’t force it. Stop halfway through. Look at the kerf. Draw a pencil line along the kerf edge directly on the table surface. Now measure the angle between that pencil line and your fence rail. That number is your actual drift angle. Three degrees means the blade is pulling three degrees. Write it down. You’ll need it later.
Check blade tension. Back the blade guides off completely. Spin the wheels by hand to confirm nothing binds. Then tap the blade midway between the wheels with a wrench handle. On most 14-inch machines — which is where most home shops live — a properly tensioned blade deflects roughly a quarter inch under a moderate tap. Push harder and you might get half an inch. A blade that swings a full inch or more under light pressure is too loose, full stop.
Inspect tooth set visually. Get a flashlight and look at the blade from the side under good light. The teeth should alternate left-right-left-right in an even, consistent rhythm. Worn blades show irregular set — some teeth barely bent, others kinked hard, the occasional tooth sitting nearly straight. Cheap blades often ship this way. I’m apparently sensitive to this detail and Lenox works for me while bargain import blades never do.
The new blade test. This is your decision point. Install a fresh half-inch, 3 TPI blade — something from Lenox or Starrett, which run $18 to $32 depending on length — and run the drift angle test again with the same stock and same technique. Drift shrinks to near-zero? Your old blade was the problem. Drift holds at the same angle? Your saw setup needs adjustment, not your blade.
Step by Step Fix for Each Cause
Correcting Blade Tension — The Flutter Test
Tension is usually the fastest fix. Find your tension knob — on my Jet it’s a large star knob on the upper housing, on older saws it might be a lever or a simple threaded rod. Loosen the blade first. Spin one wheel a few rotations by hand. Then tighten tension gradually while spinning. Stop when the blade tracks cleanly without wobbling side-to-side during rotation. You want firm, not punishing.
Once it feels right, do the flutter test: pluck the blade midway between the wheels. It should ring — actually ring, like a tuning fork. Not thud. No clear tone means it’s still too loose. That said, if the blade feels absolutely rock-hard and won’t give even a quarter inch under a firm tap, back off slightly. Over-tensioning breaks welds and damages wheel crowns. That repair costs more than a new blade.
Replacing or Upgrading the Blade
If your testing revealed uneven tooth set or a dull cutting edge, replace the blade. While you won’t need to spend a fortune, you will need to spend more than eight dollars. An $8 import blade will drift and go dull within a few hours on hardwood. Lenox and Starrett cost more — usually $22 to $35 for a 93.5-inch blade for the standard 14-inch saw — but they hold set consistently and last 50-plus hours on oak and maple.
For general ripping, a 3 TPI blade is the right choice. Resawing thick stock or working curves? Drop to 2 TPI. Fine crosscuts? Go up to 4 TPI. Feed a new blade into a cut and the difference is immediate — smoother, less resistance, no compensation required. You’re just cutting straight.
Adjusting the Fence to the Drift Angle — Last Resort
Only attempt this after confirming your blade is good and tension is correct. If drift persists with a fresh blade and proper tension, your fence needs to move. Most bandsaws have a fence that pivots at one end — loosen the mounting bolts slightly, rotate the fence to match your measured drift angle, and use your pencil line from the earlier test as a reference. Blade drifts 5 degrees right? Angle the fence 5 degrees right of square.
The pivot point matters more than most people realize. Fence pivoting at the blade end means you’re angling correctly relative to the cut. Fence pivoting at the far end means the effective angle shifts every time you reposition the fence toward or away from the blade. Some benchtop saws have exactly this problem — at which point shims or a shop-made fence become the better solution.
Lock everything down firmly once it’s set. Loose bolts shift mid-cut. That was a $40 piece of walnut I ruined finding that out.
How to Know the Problem Is Actually Fixed
Run a test rip on scrap oak or pine — something with visible grain so the kerf reads clearly. Feed at normal speed without forcing the stock. The kerf should be straight and consistent from start to finish. The blade should hum steady and even, not chirp or hesitate partway through. A kerf that wanders or widens means something is still off.
One more thing worth knowing: blade tension changes as the blade heats up during a long ripping session. After an hour of heavy work, recheck tension. Back it off slightly if it’s gone rock-hard. Drift can creep back in as tension shifts — a quick check every hour keeps things running true.
The goal is a blade that runs straight because it actually is straight and properly tensioned, not because your fence is sitting at some compensating angle. Fix the real cause and your saw cuts the way it was built to cut. That’s what makes solving drift so satisfying to us woodworkers — it’s one of those problems that has an actual answer.


Stay in the loop
Get the latest master wood crafters updates delivered to your inbox.