Half-lap joints have gotten complicated with all the “beginner joint” dismissals, dado stack debates, and online woodworking gatekeeping flying around. As someone who has cut thousands of half-laps in everything from production face frames to one-off furniture pieces, I learned everything there is to know about why this joint deserves far more respect than it gets. Today, I will share it all with you.
If I had to choose one joint to teach every beginner, it would be the half-lap. No other joint provides such a favorable ratio of strength to difficulty. You can cut accurate half-laps in your first week of woodworking and still find uses for them decades later in professional work.
What Makes Half-Laps Work

A half-lap joint removes half the thickness from each mating piece so they nestle together flush. The result is a large face-grain-to-face-grain glue surface, which is the strongest bond wood can form. Unlike dovetails or mortise and tenon, half-laps don’t rely on mechanical interlock. Pure glue strength holds them together.
That’s what makes half-laps endearing to us production woodworkers — the math works in your favor. Modern wood glue creates bonds stronger than the wood itself. A properly glued half-lap will break the surrounding wood fibers before the glue line fails. That’s strong enough for nearly any application you’ll encounter in furniture or cabinet work.
Types of Half-Lap Joints
The cross-lap intersects two pieces at any angle, typically 90 degrees. Both pieces are notched to half thickness, and they lock together at the intersection. Perfect for grid structures, egg crate dividers, and furniture stretchers where you need pieces to cross without adding thickness.
The end-lap joins two pieces at their ends, extending overall length or creating an L or T connection. Each piece is rabbeted on opposite faces so they interlock when assembled. Simple, strong, and fast to cut.
The mitered half-lap hides end grain by cutting the lap shoulders at 45 degrees. Requires more careful layout than standard versions but produces a cleaner appearance for joints that will be visible in the finished piece.
Cutting by Hand
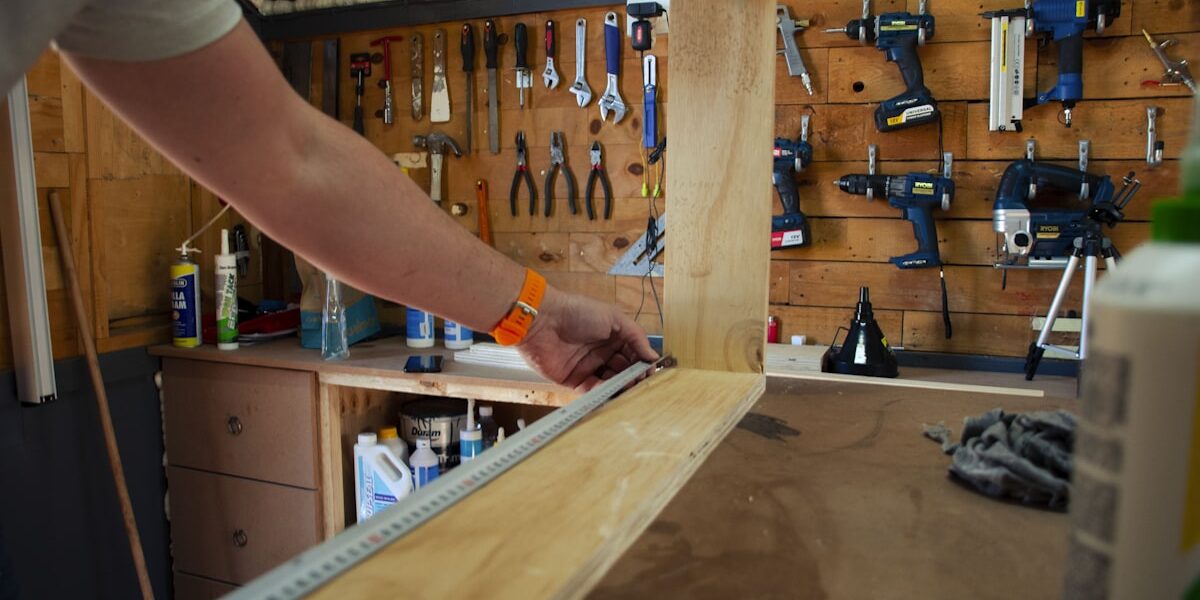
Mark the shoulder lines with a marking gauge set to the exact width of the mating piece. Mark the depth line at exactly half the stock thickness. These reference marks must be precise because the joint will telegraph any error — there’s nowhere for sloppiness to hide in a half-lap.
Saw the shoulder lines down to the depth mark, staying just on the waste side of your line. Then remove the waste with a chisel, working from both edges toward the center to prevent blowout. Pare the bottom flat with a wide chisel held bevel-down, checking with a straight edge until the surface is true.
Machine Methods
Probably should have led with this section, honestly. The dado stack on a table saw cuts half-laps quickly and with repeatable accuracy. Set the blade height to exactly half your stock thickness using a test piece — don’t trust the scale on your saw’s elevation wheel. Then nibble away the waste between your shoulder marks using multiple passes.
A router with a straight bit works equally well, especially for cross-laps in the middle of long pieces that won’t fit comfortably on the table saw. Clamp a straightedge guide and take multiple shallow passes to reach full depth rather than hogging it out in one cut.
Fitting the Joint
The goal is a friction fit that holds together without clamping but can still be assembled by hand pressure alone. Too tight, and you risk splitting the short grain at the edges during assembly. Too loose, and clamping pressure becomes critical to getting a good glue bond.
When test-fitting, the pieces should slide together with firm hand pressure and make a slight popping sound when pulled apart. If you need a mallet, you’ve removed too little material. If the pieces rattle, you’ve removed too much.
Check for flatness across the joint. Both pieces should sit flush without any rocking. High spots on the lap surface prevent full contact. Low spots create visible gaps. Either condition weakens the joint and announces amateur work to anyone who looks closely.
Gluing and Clamping
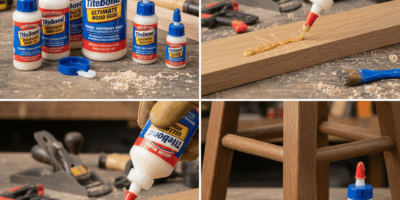
Apply glue to both mating surfaces. Half-laps have generous surface area, so glue distribution is more forgiving than with smaller joints, but full coverage still produces better results than hoping squeeze-out will fill the gaps.
Clamp across the joint thickness to ensure tight contact. A single clamp usually suffices for most half-lap joints. For cross-laps, place a caul on each side to distribute pressure evenly and prevent clamp marks. Check for squeeze-out at the shoulders — that’s your confirmation of good glue coverage across the joint face.
Applications
Half-laps excel in frames that will be covered or backed, like face frames attached to cabinet boxes. They’re the go-to joint for workbench bases where strength matters more than appearance. Crossed stretchers on tables and chairs often use half-laps for their mechanical stability under racking loads.
Don’t overlook this joint because it seems too simple. Simplicity is a feature, not a limitation. The half-lap has earned its place in every woodworker’s repertoire through centuries of reliable service.


Stay in the loop
Get the latest master wood crafters updates delivered to your inbox.