
Understanding Finger Joints in Woodworking
Finger joints have gotten a confusing reputation, partly because people can’t agree on what to call them. Comb joints, box joints, finger joints — depending on who you ask, these are either the same thing or completely different. As someone who’s cut hundreds of these joints on both router tables and table saws, I can tell you the distinction matters more than most woodworkers realize. The short version: true finger joints create incredibly strong long-grain to long-grain glue surfaces for edge-joining boards, and they look fantastic as interlocking corner joints. They typically have more, thinner interlocking pieces than what most people call box joints, and they show up constantly in commercial lumber production where shorter boards get joined into longer stock.
Finger Joints vs. Box Joints
This is where the arguments start at woodworking forums, and honestly, I get it. The terminology overlap is real. Here’s the traditional breakdown that I’ve found most useful: finger joints refer to the angled interlocking cuts you see in commercial lumber production and long-board manufacturing. Those fingers get cut at slight angles — and that angle is doing real work. It maximizes glue surface area and creates mechanical resistance to pulling apart. Box joints, on the other hand, feature square-cut fingers designed for corner construction. Same general concept, different execution and purpose. Getting this distinction right saves you from choosing the wrong joint for your project.
When to Use Finger Joints
There are a few scenarios where finger joints genuinely outperform other options. Extending lumber length is the big one — joining shorter boards end-to-end to create longer workpieces. That’s what makes finger joints endearing to us woodworkers who hate wasting material — you can take a pile of offcuts that would normally become kindling and turn them into perfectly usable long stock. They’re also excellent for decorative corner treatments where you want both a strong mechanical bond and something that looks intentional.
Cutting Finger Joints
Router Table Method
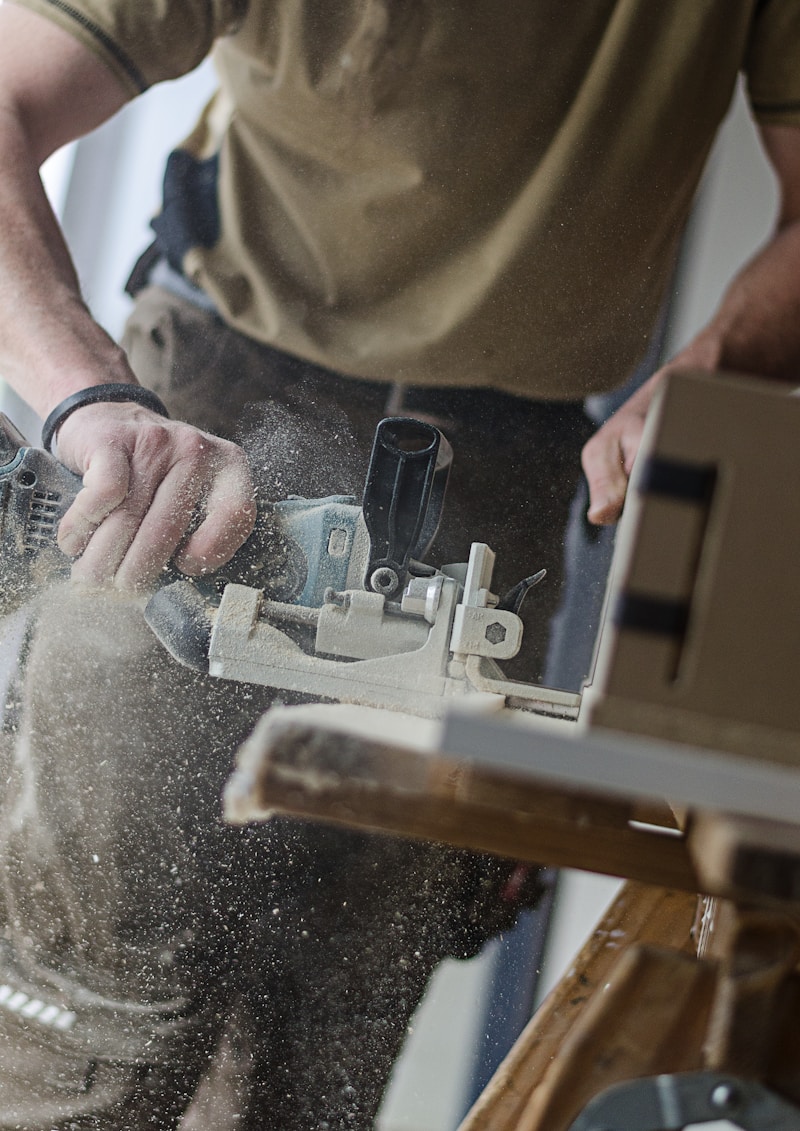
A finger joint bit in a router table is probably the most accessible entry point for hobby woodworkers, and it’s where I’d tell anyone to start. These specialized bits cut both the pins and sockets at the same time when your mating pieces are oriented correctly — which sounds simple until you realize getting that orientation right is the whole challenge. Set your router table fence to align the bit with your stock thickness, and then make test cuts on scrap. I cannot stress the scrap part enough. Your project wood deserves better than being your practice piece. The key that nobody mentions in tutorials is consistent fence pressure throughout the entire cut. Any wobble translates directly into sloppy joints.
Table Saw Approach
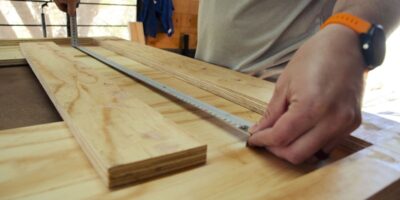
A dado stack paired with a dedicated finger joint jig produces results that are hard to beat for precision. The jig works like a box joint jig but with finer spacing to accommodate smaller, more numerous fingers. Everything rides on the indexing pin placement. If that pin is off by even a thirty-second of an inch, every single finger in your joint will be wrong. Measure it, test it, adjust it, test it again. Probably should have led with this advice, honestly — the setup is 90% of the battle.
Angle Considerations
Here’s where things get interesting for anyone who wants structural-grade joints. Commercial finger joints often have slightly angled cuts that create a wedging effect during assembly. The angle runs between 5 and 10 degrees from perpendicular, and it does two important things: increases the effective glue surface area (more surface = stronger bond) and creates a mechanical interlock that resists tension forces trying to pull the joint apart. Cutting angled finger joints is more demanding — your jig setup gets fussier and your margin for error shrinks — but for structural applications, the added strength is worth the extra effort.
Achieving Alignment
Registration and Clamping
Perfect alignment during glue-up isn’t optional with finger joints. Unlike some joints that forgive minor misalignment, the interlocking nature of fingers means that any offset is immediately visible and actively weakens the bond. Use cauls — straight boards placed above and below the joint — during clamping to keep your mating pieces flat and aligned. Distribute clamping pressure evenly across the entire joint length. Uneven pressure creates uneven gaps, and uneven gaps create weak spots.
Glue Application
Apply glue to every mating surface on every finger. Yes, all of them. The multiple surfaces are what give finger joints their strength, but only if each surface actually has adhesive on it. That said, don’t go overboard — excessive glue creates squeeze-out cleanup that’ll make you question your life choices. A thin, even coating on all finger faces is the target. Work fast, because you need everything assembled and clamped before the glue starts setting up. With that many surfaces, open time goes by quicker than you’d expect.
Finishing and Sanding
Once the glue fully cures, sand the joint flush with the surrounding wood surfaces. Start with a grit that handles glue squeeze-out and minor misalignment — usually 80 or 100 depending on how clean your glue-up was — then work through progressively finer grits. One thing I genuinely enjoy about finger joints is how the contrasting grain direction creates visual interest in the finished piece. This effect gets even more dramatic when you join different wood species, say walnut into maple, for a decorative look that doubles as a conversation starter.
Troubleshooting Common Problems
Gaps in the joint mean your fingers are too thin or your sockets too wide. Joints that refuse to close fully mean the opposite — fingers too thick or sockets too narrow. Both problems trace back to setup accuracy, and the solution is always the same: go back to test cuts on scrap and micro-adjust your jig or fence position until the fit is perfect. There’s no shortcut here, no trick to compensate for a bad setup. Get the setup right and every cut after that takes care of itself.

Stay in the loop
Get the latest master wood crafters updates delivered to your inbox.