How I Build Picture Frames (And Why You Should Try It Too)
As someone who’s framed everything from my kids’ crayon drawings to original oil paintings, I learned everything there is to know about making picture frames. Today, I will share it all with you. It’s one of those projects that looks simple on the surface but teaches you a ton about precision woodworking.
What You’ll Need to Get Started
Picture frame building has gotten complicated with all the specialty tools flying around, but honestly you don’t need much. Grab some wood, a saw, a miter box, wood glue, a few clamps, some small nails, a hammer, and sandpaper. That’s the core kit. If you want to get fancy with the finish — and I usually do — have some stain or varnish on hand. You’ll also need a piece of glass or acrylic, a backing board, and hanging hardware to complete the whole assembly.
Choosing Your Wood
This is where it gets fun. Hardwoods like oak, cherry, and walnut give you that refined, furniture-quality look. They cost more and can be trickier to cut, but the result speaks for itself. I built a walnut frame for my wife’s favorite photo last Christmas, and she thought I’d bought it at a boutique.
If you’re just getting started, pine and fir are way more forgiving. They’re cheap, easy to cut, and take stain well. Just make sure whatever you pick is straight and free from knots — a twisted piece of wood will haunt you through every step of the process.
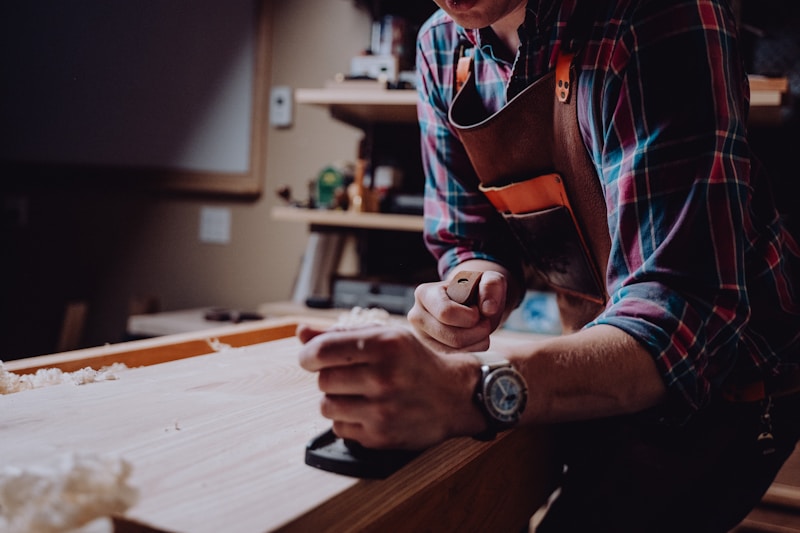
Measuring and Cutting: Where Precision Counts
Measure your artwork or photo first. Then add about 1/4 inch on each side for the rabbet — that’s the groove inside the frame that holds everything in place. Now here’s the part that trips up most beginners: cutting those 45-degree miters. A miter box and a sharp saw are your best friends here. I can’t stress enough how important it is to double-check your angles and lengths before you start gluing anything. Dry-fit everything first. Trust me on this one.
Putting It All Together
Once your cuts are good, apply a thin bead of wood glue on the mitered edges and press them together. Corner clamps are an absolute game-changer here — they hold everything at perfect right angles while the glue sets. For extra insurance, I like to tap in a couple of small brads at each corner. Let the whole thing dry overnight if you can. Patience pays off.
Sanding and Finishing
Probably should have led with this section, honestly — it’s where your frame goes from “shop project” to “wall-worthy.” Start with 120-grit to smooth out any rough joints, then work up to 220-grit for that silky feel. Wipe all the dust off before finishing.
I usually go with a Danish oil for hardwoods — it soaks in and really brings out the grain. For pine, a light stain followed by a couple coats of polyurethane gives you a durable, attractive finish. But experiment. That’s half the fun of making your own frames.
Fitting the Glass and Backing
Cut your glass or acrylic to fit snug in the rabbet. Clean both sides (fingerprints under glass will drive you crazy later). Set the glass in, then your artwork, then the backing board. I use glazier’s points to hold everything tight — they’re cheap and do a better job than tape or staples.
Hanging Hardware
D-rings with picture wire are what I use on basically everything. Mark your mounting points about a third of the way down from the top, making sure they’re level. Thread the wire through, give yourself some slack, and twist the ends to secure them. Simple and reliable.
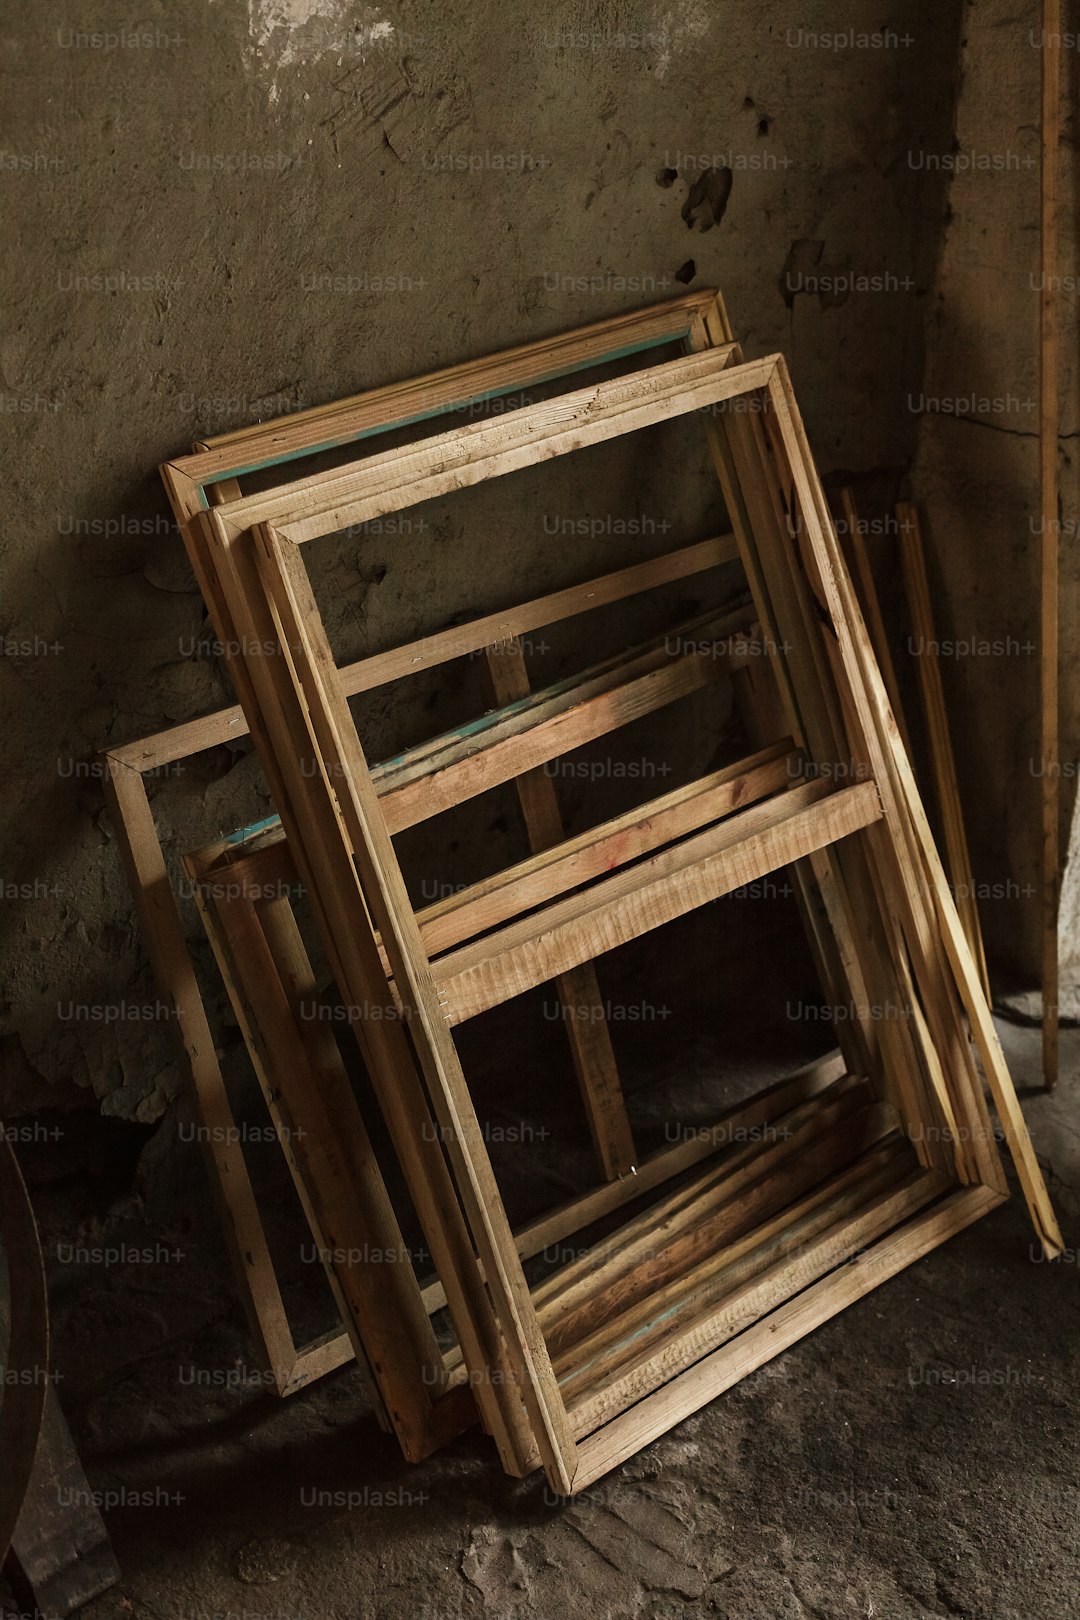
Getting Creative with Custom Designs
Once you’ve got the basics down, the sky’s the limit. I’ve done frames with decorative router profiles, ones with distressed chalk paint finishes, even a couple with hand-carved corner details. That’s what makes frame building endearing to us woodworkers — every frame becomes a unique piece of art in itself.
Keeping Your Frames Looking Sharp
Dust regularly, clean the glass when it gets smudgy, and check that your hanging hardware stays tight. If a wooden frame starts looking tired, a light sanding and fresh coat of finish will bring it right back. These things last forever with just a little attention.
Is It Actually Cheaper Than Buying?
Compared to custom framing at a shop? Absolutely. Those places charge an arm and a leg, especially for odd sizes. Once you’ve got the basic tools (which you probably already own if you do any woodworking), the per-frame cost drops to just a few dollars in materials. Plus you get exactly the style and size you want.
The Bigger Picture (Pun Intended)
Making your own frames isn’t just about saving money. It’s about building something with your hands that preserves and showcases things you care about. The skills transfer to other projects too — mitering, finishing, precision measuring. It’s a great entry point into woodworking, and honestly, I still find it satisfying even after building dozens of them.


Stay in the loop
Get the latest master wood crafters updates delivered to your inbox.