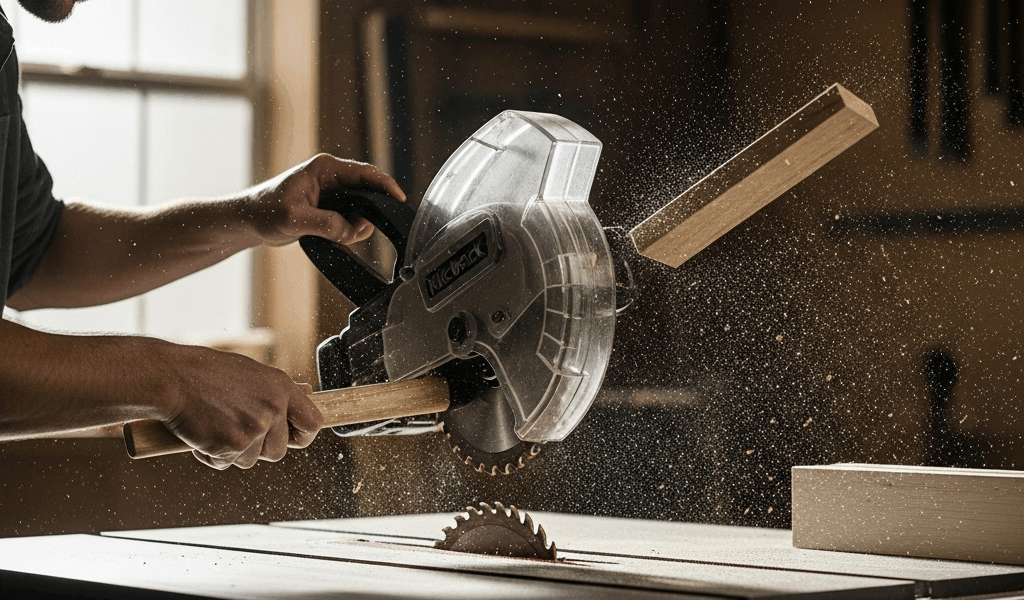
Table Saw Kickback — What Causes It and How to Prevent It
Table saw kickback has gotten complicated with all the conflicting advice flying around — half of it buried in dense safety manuals, the other half from YouTube comments. As someone who learned about kickback the genuinely unpleasant way, I eventually figured out everything worth knowing about the subject. Years back, I was ripping a piece of oak on my Craftsman 10-inch contractor saw — owned it maybe eighteen months at that point — and the board came back at me before I even registered movement. I heard it hit the wall behind me. My hand was fine. My ego took the real damage. That was the afternoon kickback stopped being a theoretical concern and became something I actively engineered against. If you’re running a table saw with any regularity, this isn’t optional reading. It’s the whole game.
The Three Most Common Causes of Kickback
Most kickback traces back to one of three situations. They’re not mysterious — and honestly, the physics are pretty intuitive once someone stops explaining them like a textbook.
Wood Pinching the Blade
Wood moves. Sounds obvious. A lot of woodworkers forget it the moment they’re focused on hitting a cut line. Internal stress lives inside lumber — especially flatsawn boards pulled from near the center of the log — and when you rip through it, you’re releasing tension the tree spent decades building. The two halves can spring inward, squeezing the blade like a slow-motion vise.
When that happens, the rear teeth grab the wood and fling it backward. Toward you. Somewhere between 100 and 120 miles per hour, depending on who you ask. The blade isn’t broken or malfunctioning — it’s doing exactly what a spinning blade does when something grabs it. Rotational energy becomes linear energy. Whatever was grabbing it becomes a projectile.
You can’t always spot which boards will pinch. Wet wood, reclaimed lumber, anything from a big-box store stamped “construction grade” — higher risk, all of it. The answer isn’t to avoid those materials. The answer is a riving knife, which I’ll get to shortly, because it’s the single most effective fix for this specific problem.
Misaligned Fence
A fence that isn’t parallel to the blade causes more kickback in home and small professional shops than most people realize — and gets overlooked constantly. If the fence angles even slightly toward the rear of the blade — what’s called a toe-in condition — the wood gets pinched between the fence and the rear teeth as it exits the cut.
Same physics. Rear teeth grab. Board launches.
Checking fence alignment takes five minutes. A decent combination square works fine — a dial indicator if you want to get precise about it. Set the fence to your measurement, then check whether the distance between the fence and the blade is identical at the front and rear of the blade. Some woodworkers deliberately open the fence a couple thousandths of an inch at the back, giving the wood somewhere to go. That’s reasonable. Toe-in is never reasonable.
I check mine every three or four months, or any time the saw gets moved. Doesn’t matter if you’re running a SawStop PCS175 or a basic Delta contractor saw — every fence can drift. Don’t make my mistake of assuming it stays put.
No Riving Knife or Splitter
Running a table saw without any splitter device is, honestly, like driving without a seatbelt. You can do it for years, nothing happens, and then one afternoon everything changes. The splitter — or its superior modern cousin, the riving knife — sits directly behind the blade and holds the kerf open as the board passes through. It physically stops the two halves from closing back on the blade.
A lot of woodworkers pull their splitter because it interferes with non-through cuts like dados. That’s a real inconvenience. It’s not a good enough reason. Remove it for the non-through cut, make the cut, reinstall it. That’s the habit that keeps you whole.
Riving Knife vs Splitter — Use One or the Other
Probably should have opened with this section, honestly. The riving knife is the most important safety device on a table saw and also the most frequently misunderstood one.
But what is a riving knife, exactly? In essence, it’s a curved piece of metal that follows the blade’s arc, keeping the kerf open as wood passes through. But it’s much more than that — it’s what separates a saw that bites back from one that doesn’t. Here’s the distinction that matters: a splitter is fixed. It mounts behind the blade guard assembly and stays in one position regardless of blade height. A riving knife moves with the blade — raise or lower the blade, the knife rises or falls right along with it, staying just behind the cutting arc at all times.
Most table saws manufactured after roughly 2008 or 2009 ship with a riving knife standard, driven by updated UL requirements. Older saws probably have a splitter. Both are vastly better than nothing. But given a choice, the riving knife wins — no contest.
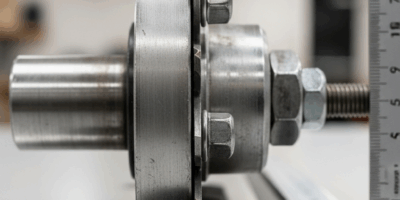
How to Check Alignment
A misaligned riving knife can actually contribute to kickback instead of preventing it — so this check matters more than people think. With the blade raised to full height, the knife should sit between 3 and 8 millimeters behind the blade’s teeth. It needs to be perfectly in line with the blade — no left or right angle — and its top edge should sit just below the top of the blade so it doesn’t catch the wood on exit.
Lay a straightedge flat against the side of the blade. The riving knife should either touch the straightedge or come within a hair of it. If it doesn’t, your owner’s manual will walk you through adjustment — most riving knives have a single bolt behind the throat plate that handles the whole thing.
Woodworkers who yank the riving knife out for convenience and leave it off indefinitely — that’s the habit worth breaking. The thirty seconds to reinstall it before a rip cut is genuinely worth it.
Push Stick Technique That Actually Prevents Kickback
Hand position is where most safety instruction goes completely vague. “Keep your hands away from the blade” isn’t technique — it’s a bumper sticker. Here’s what actually does something.
Where Your Body Goes
Never stand directly behind the workpiece during a rip cut. Step slightly left if you’re right-handed — position yourself behind the fence side, not the offcut side. Kickback travels along the blade’s axis. Getting even 12 inches off that line changes the outcome dramatically. A two-by-six at 100 miles per hour will break ribs. Twelve inches of lateral offset might mean it misses you entirely. That’s what makes body positioning so endearing to experienced woodworkers — it costs nothing and might be the most important habit on this list.
Push Stick vs Push Block
These two tools are not interchangeable — and treating them like they are is a real problem.
A push stick — the narrow, notched wand — handles narrow rip cuts, anything under roughly three or four inches. It keeps your hand clear of the blade while guiding the rear corner of the board through. A push block — wider, flat, with a heel that hooks the board’s back edge — suits wider cuts where you need downward pressure as much as forward pressure. The GRR-RIPPER from MICROJIG runs about $65 and does this exceptionally well. Worth every cent, apparently — I resisted buying one for two years and felt genuinely foolish once I did.
Frustrated by the cost, I eventually started cutting my own push sticks from scrap plywood on the bandsaw — 3/4-inch Baltic birch, notched to catch the board, angled to keep your hand riding high. Takes about twenty minutes, costs nothing. Make six. Keep them scattered around the shop so there’s never a reason to reach bare-handed.
Never feed a board with your palm flat behind it. Never hook fingers over the fence. Both hands stay on the same side of the blade. These aren’t suggestions.
What to Do If Kickback Happens
It’s fast. You won’t have time to think during the actual event — your body will be processing it after the fact. What happens in the seconds following determines whether a bad moment stays contained or becomes something worse.
Immediate Steps
First — step back and to the side before you even process what happened. Turn off the saw. Don’t reach for anything. Let the blade stop completely before you touch the workpiece or investigate the machine.
Then check yourself. Kickback injuries are often adrenaline-masked — you may not feel impact damage immediately. Run through fingers, hands, forearms, torso. Any laceration deeper than a surface scratch, any numbness, any impact to the chest or abdomen — get medical attention. Don’t decide it’s probably fine and go back to cutting. Go get checked. The shop will still be there.
Checking the Blade After Kickback
A kickback event stresses the blade — sometimes significantly. Before your next cut, inspect the teeth for chips, missing carbide, or any visible warping. A warped blade causes more kickback. A chipped tooth catches unpredictably. If the blade made hard contact with the workpiece during the event — if you heard metal-on-metal — replace it before you cut again. A CMT or Freud blade in the $40 to $80 range isn’t worth compromising over. Full stop.
Then Figure Out What Happened
Once you’re physically clear and the equipment checks out, walk backward through the cut mentally. Was the fence aligned? Was the riving knife installed? Did the board look stressed or behave strangely before everything went wrong? Every kickback has a specific cause. Finding it is what prevents the next one — and that mindset is what keeps a shop running for decades instead of becoming a cautionary story someone else tells at a safety seminar.
Kickback isn’t random bad luck. It’s a mechanical event — specific causes, specific countermeasures. Run your fence straight. Keep the riving knife installed. Stand out of the line of fire. Use the right push tool for the cut. Do those four things with any consistency and the probability of kickback drops dramatically. Not to zero. But dramatically. In a woodworking shop, that’s what passes for good odds.

Stay in the loop
Get the latest master wood crafters updates delivered to your inbox.